Are you interested in growing your own butternut squash? In this article, we will guide you through the various stages of growing butternut squash, from planting to harvesting, and even curing and enjoying this delicious winter vegetable.
Butternut squash is not only a versatile ingredient in the kitchen, but it is also packed with nutrients like vitamin A and fiber. By growing your own butternut squash, you can ensure its freshness and quality.
To start your butternut squash journey, you’ll need to understand the planting process. A thriving butternut squash plant begins with choosing the right garden location, preparing the soil, and deciding whether to start from seeds or transplants. Our reliable sources recommend full sun and well-drained soil for the best results.
Once your plants are established, they will go through various growth stages, from vigorous vines to flower development and fruit formation. Proper watering, fertilizing, and pruning are essential during the growing season to encourage healthy plants and high-quality fruits. However, it’s crucial to be aware of potential pests and diseases that can affect your butternut squash crop.
When it comes time to harvest your butternut squash, knowing the right timing is key. Factors like skin color, texture, stem condition, and vine health indicate the ripeness of the squash. Harvesting at the right time ensures optimal flavor and potential for storing. Proper curing and storage techniques will allow you to enjoy your butternut squash throughout the winter months.
Stay tuned as we dive deeper into each stage of growing butternut squash. Whether you’re a seasoned gardener or just starting out, our detailed tips and expert advice will help you successfully grow, harvest, cure, and enjoy this nutritious vegetable.
Planting Butternut Squash
To successfully grow butternut squash, it’s important to start with the right planting techniques. This includes choosing the right spot in your garden, preparing the soil, and deciding whether to start from seeds or transplants.
According to our sources, butternut squash thrives in full sun and well-drained soil. It’s recommended to select a garden area that receives at least 6-8 hours of sunlight each day. Ensure the soil is rich in nutrients and has good drainage to prevent waterlogging. You can improve soil fertility by adding organic matter like compost or well-rotted manure.
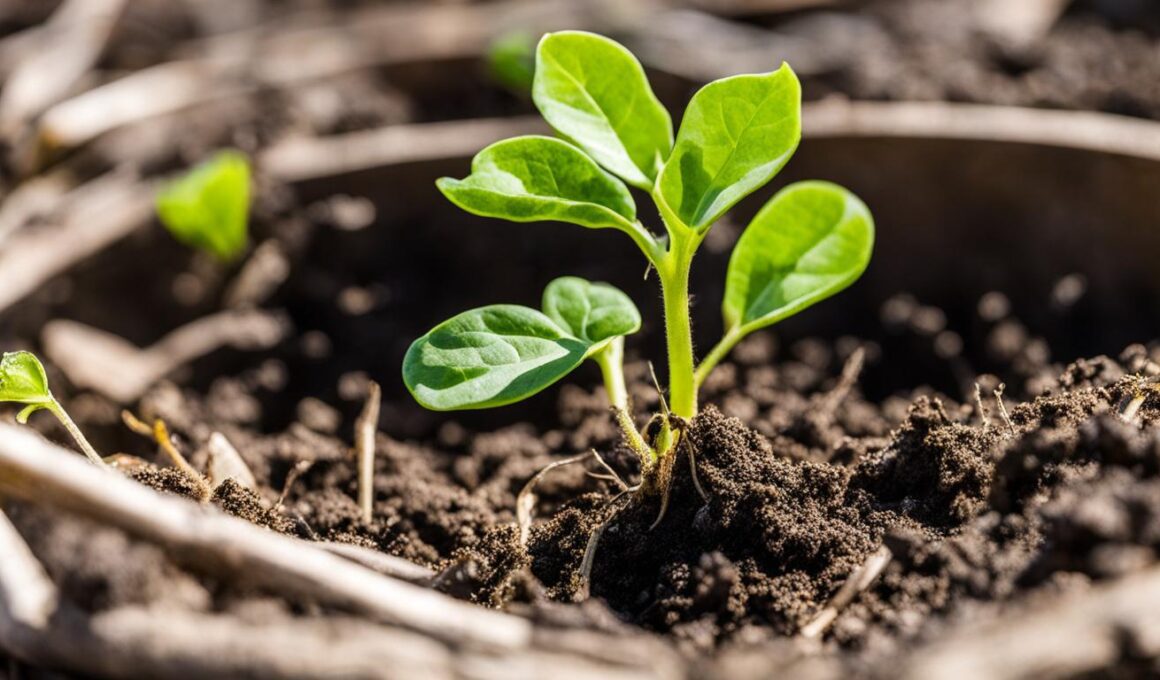
When it comes to starting your butternut squash, you have two options: seeds or transplants. If you choose seeds, you can plant them directly in the garden after the last frost. Ensure that the soil temperature reaches at least 60 degrees Fahrenheit for successful germination. Sow the seeds about 1-2 inches deep and space them about 2-3 feet apart.

If you prefer transplants, you can start them indoors about 3-4 weeks before the last frost. Use biodegradable peat pots or cell trays filled with potting soil. Plant one seed per pot at a depth of about 1 inch. Keep the soil consistently moist and maintain a warm temperature of around 70-75 degrees Fahrenheit.
Once the soil warms up and all danger of frost has passed, you can transplant the seedlings into the garden. Make sure to harden off the transplants by gradually exposing them to outdoor conditions over a week before planting. Space the transplants about 2-3 feet apart to allow for their sprawling growth.
By following these planting techniques, you’ll be on your way to a successful butternut squash garden in no time!
Growing Butternut Squash
Once the butternut squash plants are established, they go through various growth stages. Vines grow vigorously during the warmer months, and flowers start to develop, leading to the formation of fruits. It’s essential to provide adequate watering and fertilizing during the growing season to ensure a healthy harvest. Pruning the plants can also help manage growth and promote higher-quality fruits. However, it’s important to be mindful of common pests and diseases that can affect butternut squash, such as squash bugs, vine borers, and powdery mildew.
Harvesting and Storing Butternut Squash
When it comes to butternut squash, timing is everything. Harvesting at the right moment ensures optimal ripeness, flavor, and storage potential. Several factors can help determine if your squash is ready for picking. Consider the skin color, which should have a deep, rich tan or beige hue, and the texture, which should be hard and firm. The stem should be dry and brown, indicating that the squash is no longer growing. Checking the health of the vines is also important – if they have started to wither or die back, it’s a good indication that the squash is ripe and ready to be harvested.
Once you’ve determined your squash is ready, it’s time to pick them. Use a sharp knife or pruning shears to cut the squash from the vine, leaving about an inch of the stem attached. Be careful not to damage the squash during the process. Avoid twisting or yanking the squash off the vine, as this can cause damage, affecting their storage life.
After harvesting, curing is an essential step to ensure the quality and longevity of your butternut squash. Curing involves allowing the squash to cure or dry in a warm, well-ventilated space for a period of time, usually around 10 to 14 days. During this time, the squash’s skin will harden, protecting it from rot and extending its shelf life.
Once the curing process is complete, it’s time to store your butternut squash. The ideal storage temperature is around 50 degrees Fahrenheit with a humidity level of 50 to 70%. Cooler temperatures may cause the squash to rot, while higher temperatures may cause them to deteriorate faster. Find a cool, dark place, such as a basement or root cellar, to store your squash. Check on them regularly and use any squash showing signs of spoilage first to avoid any further spread.
Can the Growing Stages of Butternut Squash Help Me Understand How to Repot My Jade Plant?
Yes, understanding the growing stages of butternut squash can provide valuable insights for repotting a jade plant. Both require ample space for roots to thrive and regular watering. Learning about the ideal pot size and soil composition for butternut squash can inform the repotting process for a jade plant.