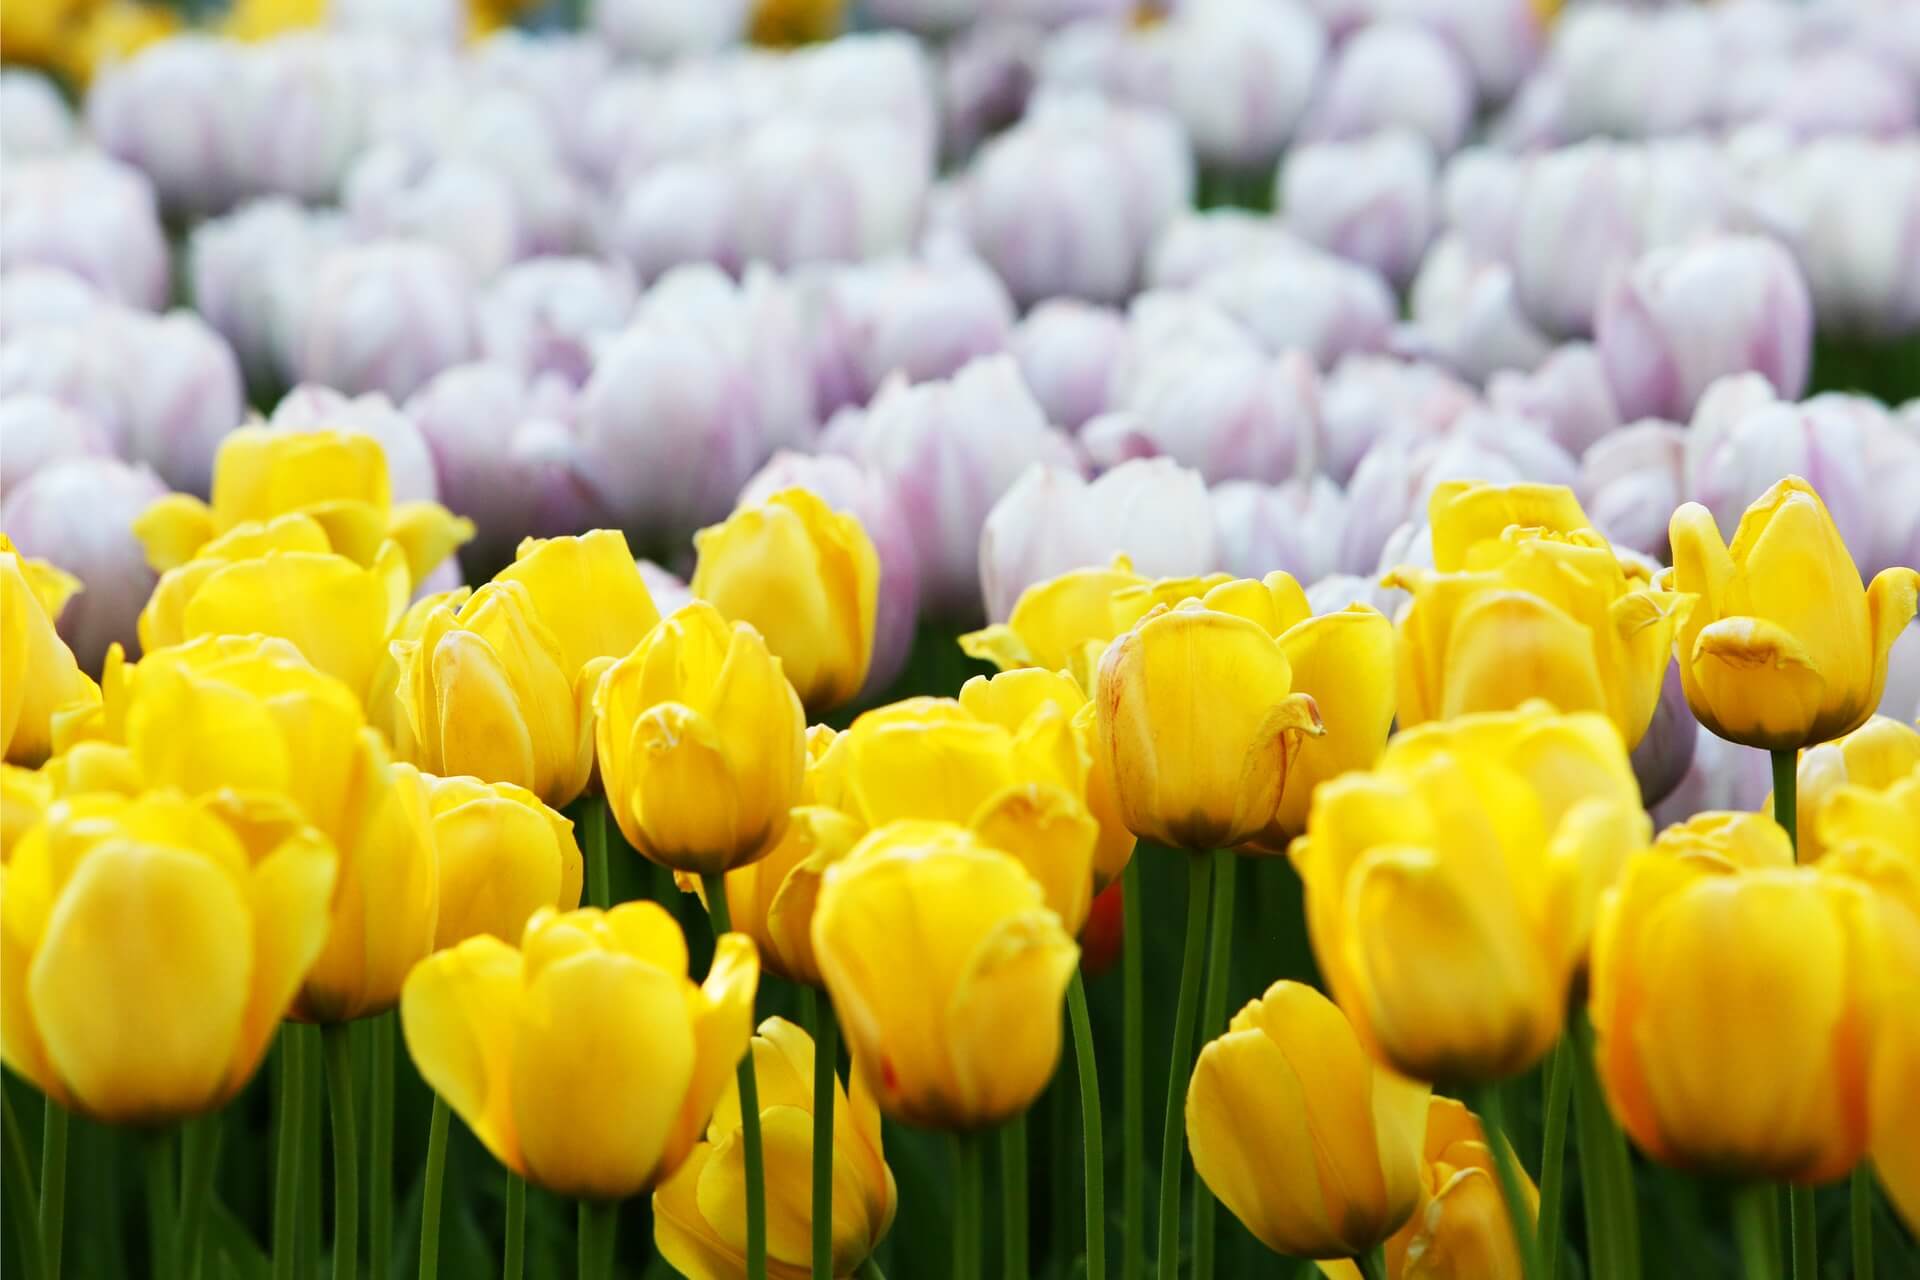
There are around 75 species of tulips. Each one of them has its own unique shape and color. This makes it easy for gardeners to own such a plant in their collection while making sure it remains in tune with the rest of their exhibits. Their generous range of colors can land exquisite nuances to one’s garden. If you fell enchanted by this perennial flower, you should discover how to grow tulips in just a few steps.
Where Did Tulips Come from?
While tulips mostly remind us about Holland and its mesmerizing colorful fields of such flowers, this image is the construct of modern culture. It turns out that this showy bulbous plant has its origins deep in the Eurasian civilization.
It is mainly its etymology that gives it away. Its name derives from the Persian word “delband” which means “turban.” This folkloric element simply is an analogy between the traditional hat and the shape of this splendid flower.
Nonetheless, the tulip is definitely a natural jewel that can turn any garden into a piece of heaven. However, one needs to know how to grow tulips the proper way before plunging into such a mission.
The North American Climate – Special Observations
Even though they are a perennial plant, most people take them as an annual flower. This is because the flower doesn’t find the North American climate as accommodating as its homeland. As such, to maintain the integrity of the garden, one should plant new bulbs with each autumn. Therefore, without further ado, let’s start our walkthrough into how to grow tulips.
Conditions to Consider Before Planting the Tulip Bulbs
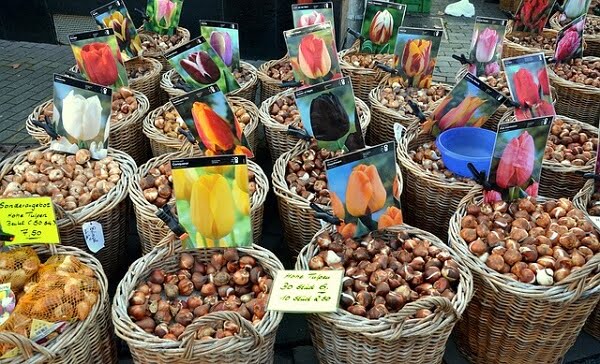
The best time for planting tulips is the fall, like any other spring flowers. After the sun loses its painful intensity and the cool shade of the autumn makes its presence felt, it is high time you got prepared for spring. It is best to get the planting process done before the first soil frost of the year. This weather condition makes the ground harder which can impair your attempt to dig holes for tulips. As such, the optimal temperature at the level of the soil is at least 60 °F.
The first observation for this step is to avoid delaying putting your freshly bought bulbs into the ground. Such natural elements were born to stay in the fertile soil so don’t prolong their inactive state. However, there are some smart ideas to keep them in top shape while storing them. These bulbs will do just fine if you host them in the crisper drawer of a refrigerator. Another strange yet useful trick is to keep them away from bananas and apples. Otherwise, the flower bud might become recumbent forever.
Moreover, it is important to plant them at the optimal time. If the autumn weather is still similar to that of spring, tulips might bloom before this first frost. This means that they will freeze as soon as winter kicks in. Instead, you should take advantage of the frozen soil. This hardened layer above the bulbs is going to keep them dormant until spring.
Ideal Planting Conditions
The ideal spot in your garden for your future bouquet of tulips is the one that gets plenty of sun rays. Too much shade will make the flowers bloom only to half their potential. At the same time, this is the proper time to choose some flower garden ideas and how the overall design should look like.
As for the choice of soil, tulips need some special features in this area as well. The ideal home for these beautiful plants is a mixture of sandy soil and organic matter. The optimal soil acidity is of 6.0 to 6.5 pH.
Moreover, such bulbs do not appreciate wet lands at all because they might rot if there’s too much water. This is why it is recommended to place them in zones with great drainage.
The size of the bulbs will vary from one species to another. One important trick is to measure the planting depth by their diameter. The rule of thumb calls for a depth three times the diameter of the bulb. As a consequence, small bulbs reach 5-6 inch deep, while those of larger dimensions can get even to 10 inches deep into the ground.
The Actual Planting Stage
At this point, you should have a well fertilized dry soil with custom holes for each bulb. Place each of them in the designated spot. However, make sure the pointy extremity is facing up. Nonetheless, it is not completely wrong if you did otherwise by mistake. However, the bulbs planted upside down will need a longer period to reach the surface in spring. Moreover, they might be shorter than its peers.
After you cover the bulbs, you need to water them lightly. This first act can induce the beginning of the growing process. However, it might be the only time you need to give them water. You are allowed to repeat this process only if the soil is extremely dry on the outside. As long as you chose for your tulips a spot with good drainage, there’s no peril of letting them rot if the autumn and winter turn up to be extremely rainy.
One last trick before leaving your beds is to cover the planted area with shredded leaves, sand or even a coating of pine bark. This way, your bulbs will be well protected from its nemesis, namely moisture.
Caring for Tulip Flowers
Fast forward to spring, your bulbs should start their beautiful metamorphosis process. As long as the soil was dry during the previous two seasons, your garden should have no problem with welcoming some astounding, colorful flowers. Now that you learned how to grow tulips, let’s delve into the secrets of caring for their wonderful blooms.
As soon as the leaves appear, you should go ahead and feed them. This makes them one of the few flowers that need so little maintenance.
After you enjoyed the sight of bloomed tulips, it is time to prepare the bulbs for their repetitive cycle. To ensure them the best growing conditions, you should cut the blossom as soon as the first petals detached themselves from the flower. You can employ pruning shears with sharp blades. By proceeding in such manner, you will not allow the tulip waste precious energy on bulb production.
Moreover, you should remove the foliage as soon as it receives yellow nuances and wilted. If they resist your gentle plucking, it means they are not yet ready for removal.
It is not unusual for the bulbs to lose their perennial traits. Once again, the North American environment doesn’t share many similarities with the origin land of tulips. As such, many gardeners choose to take them as annual plants from the beginning. This means that you should plant new bulbs each fall. This entails repeating the whole procedure indicated above.
How to Care for In-Vase Tulips
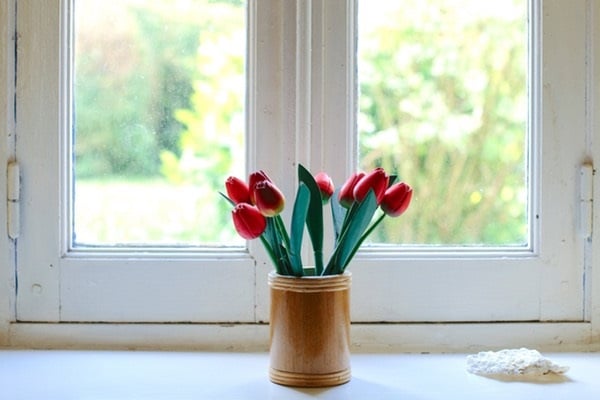
As much as tulips can adorn any garden with delightful blooms, they can also cheer up any room at the same time. Whether you can’t live with flowers by your side or you want to offer your beautiful tulips to your beloved people, you need an in-vase bouquet.
First off, the design of your vase should meet some conditions. The rule of thumb is for the vase to be half the height of the stems. This way, the blooms will enjoy great support outside the garden as well. Moreover, flowers will even grow another couple of inches even after they were plucked. Consequently, plenty of space is vital even for a vase.
Secondly, there’s the right way to cut the flowers for your bouquet. To attain a perfect view, you can place the vase near the blooms and cut them at the ideal length for their future home. On top of that, you should make sure you obtain a 45-degree angle inclination. Next up, you should wrap two-thirds of the stems in the newspaper and quickly place them in cool water. Keep them there for up to two hours. This way, the bouquet will remain fresh for at least one week.
Speaking of water, flowers need more nourishment than their original bulbs. So, contrary to its initial stages, the blooms require plenty of water. As long as the vase is filled three-quarters with liquid, tulips will look as majestic as they were in your garden.
If you want to steal some trade secrets, there are several seemingly odd tricks. To keep the in-vase flowers to their best looking side, you can add flower food, lemon juice or half a teaspoon of cane sugar in the water. Another peculiar tip is to place a penny at the bottom.
If you are considering the idea of diversifying your bouquet, you should be mindful about what flowers you choose as companions to tulips. There are some plants that have a malicious influence on tulips such as narcissus or daffodils. However, there’s no trouble with going for some kale, roses or hydrangea.
Did You Know? – Final Word
Even though Holland has merely adopted tulips, the country had a great sense of aesthetic and knew how to respect this flower. In fact, such plants were at such a high demand back in the 17th-century, that some bulbs were valued at $44,000.
Moreover, the beauty of this flower was a source of inspiration for Turkish legends. It is said that a prince called Farhad fell deeply in love with Shirin, a maiden of low heritage. However, Shirin was killed which caused the prince unbearable pain. To end his agony, he jumped off a cliff. However, he left a symbol of pure love behind. From each of his droplet of blood, a new red tulip bloomed. This dramatic myth endowed the flower with the meaning of ideal love.
Therefore, your choice of tulips will not only elevate the aesthetic side of your garden to new levels, but it will also fill you with passion with each spring. Finally, now that you know how to grow tulips, you should go ahead and make the necessary preparations.