Before Planting
1. Check What Type of Area You Live in
Depending on how cold it gets in your area, you need to choose an appropriate plant. For example, if you live in a climate where the temperatures drop in the winter somewhere between 10 °F (- 12 °C) and 20 °F (- 7 °C), you can plant artichokes each year. However, if you live in an area with a warm climate, you can grow a perennial variety. In the U.S., you should guide yourself by the zones established by the USDA Agricultural Research Service. Zone 8 or higher are perfect for an annual variety.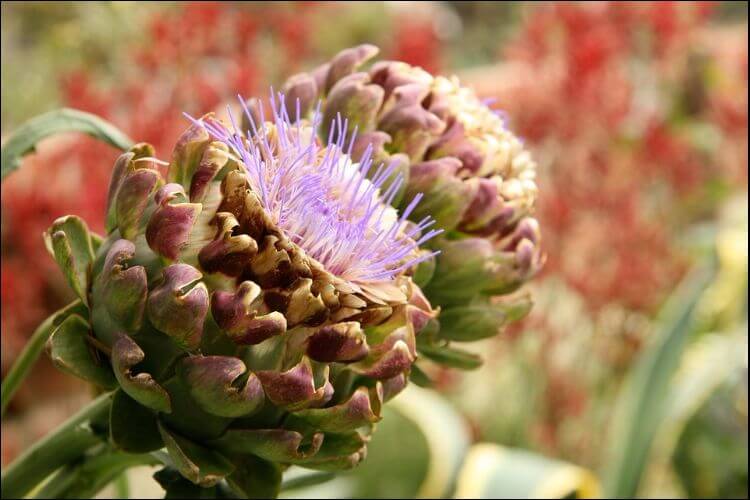
2. Choose a Good Location
In general, artichokes love a sunny position, but it needs to be sheltered. Ideally, you can place them in a border or in a large pot against a fence or a wall.3. Choose a Varietal
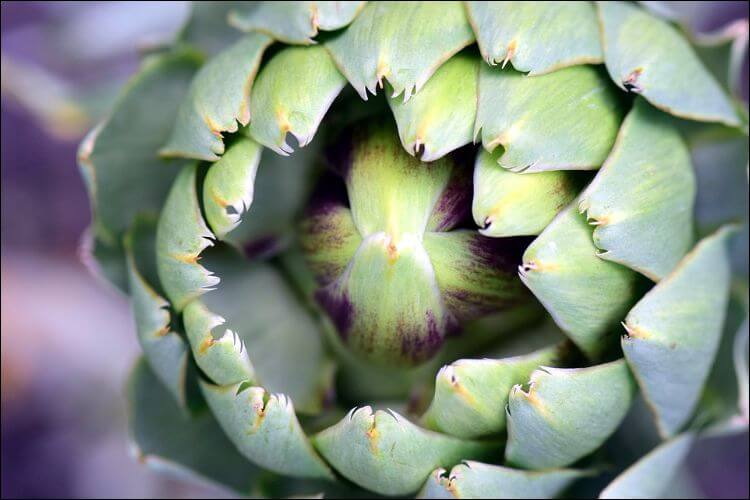
The two main classifications of artichokes are:- Green;
- Purple.
- Imperial Star – annual plant;
- Green Globe – a perennial with a high produce;
- Violetta – very hardy;
- Opera – matures fast.
4. Choose Adequate Soil
Artichokes love a soil that is rich, moist, and fertile. They are hardy plants, as we mentioned already, so they can grow in most types of soil if you feed them correctly and allow the soil to drain properly. One option would be to build raised beds to help with drainage if you know there is heavy rainfall in your area. Before planting, it’s good to prepare the soil with a hand’s depth of compost, which you need to till into the dirt. You can use a soil tester to assess the quality of your soil before starting to plant.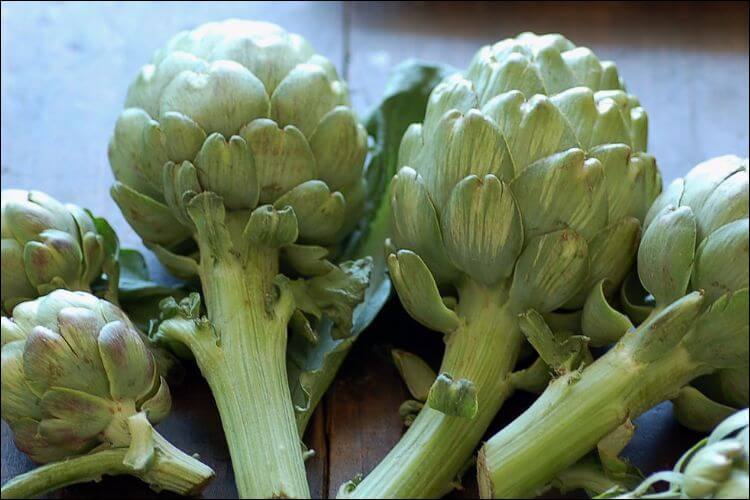
Planting Artichokes
5. Plant the Seeds
If you want to take advantage of most of the growing season, you should start the seeds indoors. For this, you need 4-inch containers (10.2 cm) and start your seeds in them. Place them under fluorescent lights or in a special greenhouse which is heated. Deciding on how to grow artichokes can be a tough thing to do, but if you decide to grow them at a normal temperature, it might take up to a week for the seeds to germinate. If you notice the containers are too small, increase their size. A good idea is to start exposing the seedlings to brief outdoor periods 6 weeks before the last frost date.6. Transfer the Seedlings
Three to four weeks before the last frost, you should move the seedlings outdoors. It’s recommended, in fact, to expose them to temperatures lower than 45 °F (7 °C) if you want to trigger the flowering process. At this point, the plants should be just as tall as your hand. Place them into the soil with the crown of the root system poking out. In 8 – 10 weeks, the healthy artichoke seedlings should have 2 sets of leaves and stocky stems. If you notice some of them don’t have, cull them.7. Use Transplants
If you want to know how to grow artichokes in a cold climate, you’ll need to use transplants. You should start growing the transplants indoors either in late winter or in early spring. As such, you will be able to harvest in late summer or early fall. If you want to establish roots quickly, it’s a good idea to buy rooted shoots from a greenhouse or a special online plant distributor. However, if you decide to do it yourself, take a serrated knife and cut an offshoot measuring 10 inches that grows at the base of the plant. Remember to dig around the offshoot to make sure you will also get the roots when you remove it.
8. Plant the Artichoke
When learning how to grow artichokes in your own backyard, it’s important to know how to space them. They should be placed at least 3 feet (0.9 m) apart if not 4 – 6 feet (1.2 – 1.8 m). This happens because they have large wingspans and need plenty of room to thrive. The same thing applies if you decide to use raised beds as well.Can I Grow Artichokes Indoors as Part of Indoor Vegetable Gardening?
Artichokes can be successfully grown indoors as part of indoor vegetable gardening. With the right indoor vegetable gardening essentials, such as sufficient light and a well-draining potting mix, you can enjoy fresh artichokes right from your own home. Remember to provide them with enough space to grow and regular watering to ensure their healthy development.
Caring for Artichokes
9. Fertilizing the Soil
Before planting, you will need to fertilize the soil. It’s important that the soil will have the necessary nutrients for the plants to eat. Each plant would require one shovel of compost/ aged manure. You can also use 1 cup of fertilizer high in nitrogen. Other options would be feather or blood meal (half a cup) or bone meal (also half a cup).10. Fertilize When Growing
Don’t throw away the fertilizer after you planted the artichokes! You will also need it when they’re growing. In general, artichokes love a diet based on high nitrogen. Offer them such a fertilizer a month after you planted them. Every month, add 2 extra teaspoons of it. You should pour or place the fertilizer beside the stalk and irrigate it. In this way, the fertilizer gets soaked into the soil. Before the plants have buds, you should side-dress each of the plants with 1 – 2 lbs (0.5 – 1 kg) of aged manure.
11. Watering the Artichokes
Part of knowing how to grow artichokes correctly is to learn how much water they need. Every week, these plants require 1 – 1 ½ inches (4 – 5 cm) of water. If there is enough rain in the area to provide for this amount, then you should adjust the water quantity accordingly. During spring and summer, you should take care and water extra if you want to have thicker and larger buds. Once again, you need to ensure that the soil where your plants grow can drain any extra water. In case you notice the ground around the artichoke starts to be water-logged, you should think about replanting in a raised bed.Harvesting and Propagating
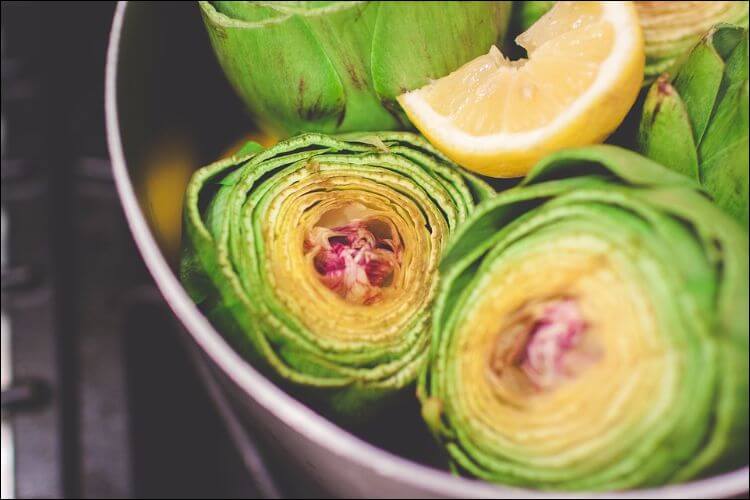
12. Harvesting the Buds
Look out for the flowering stems that have flower buds. Most stalks produce 3 – 5 buds in general, which appear towards the end of the summer or in the middle of it. Take the buds when the bracts (which is the name for the lowest scales) on the bud start opening. The ones at the top will stay as they are. With a sharp knife, you should leave a part of the stem that’s the height of a credit card. Wait for more buds to appear. The freshly cut buds should be stored in the fridge until you plan to cook and eat them. Depending on the growing season, you may even have the luck to harvest another crop.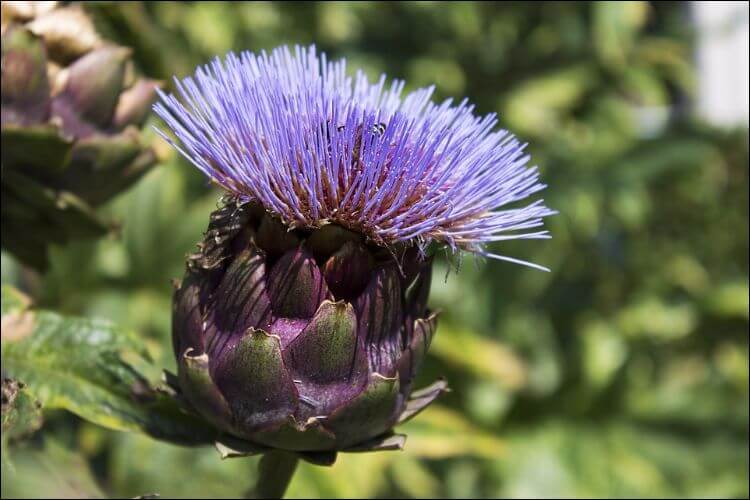
13. Protect Them During Winter
If you chose a perennial type of artichoke, you need to do something to protect them over the winter. Cut their leaves back after they flower, and the season is over. If you want to make the roots survive, it’s essential to mulch both around and above the plant. The plants should be covered in a hand’s depth of mulch. The mulch, in its turn, needs to be covered with an equal layer of leaves or straw, for even more protection. When learning more about how to grow artichokes, it’s important to keep in mind that regardless of your care, perennials stay productive only around 4 years. However, you can extend this period if you splice the plants before planting and then replant the parts separately.14. Cutting and Sharing Prime Specimens
When experimenting with different varieties, pay attention to them. If you notice a plant that’s hardy and has quality buds several years in a row, you should propagate it. Simply splice off one of the offshoots when the plant emerges in the spring and establish it on its own.15. Save the Seeds
Another option you have if you want to propagate artichokes is to save the seeds. However, for this, you will need to wait a long season until they open. For those who live in an area that enjoys long summers, you need to let a large bud to bloom, then shrivel and become brown. Next, remove the dried flower and keep it in a paper bag, indoors, for 6 weeks. Shatter it and collect the seeds. You can keep the seeds for a maximum of 6 years.