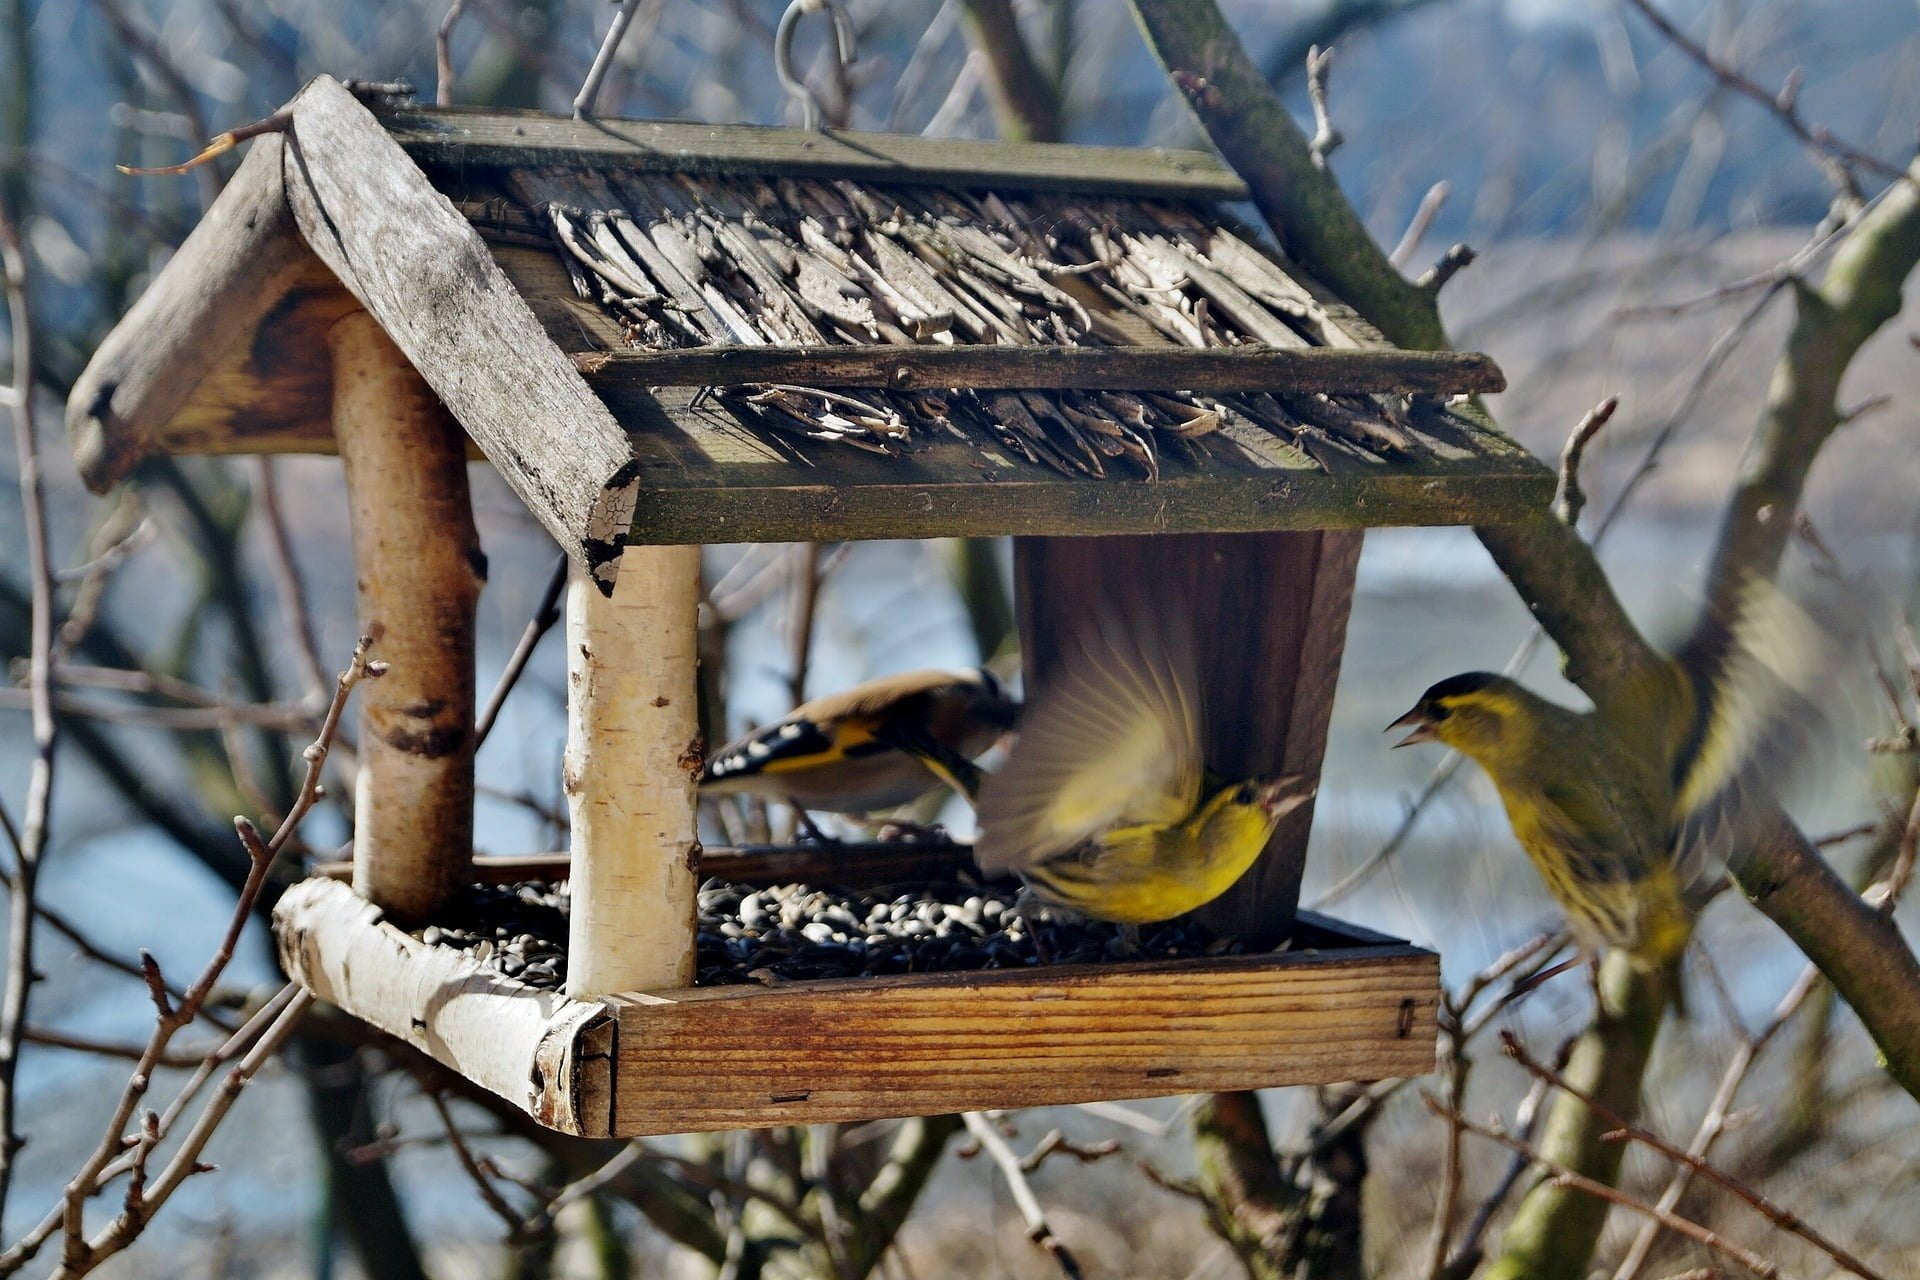
Winter is the perfect time of year to add a bird feeder to your garden. The seeds and berries that most birds eat are beginning to be hidden under blankets of snow. Even if you aren’t seeing or hearing as many birds right now as you do in the summer, they are still around! Many birds could use the extra food source while they are migrating south for the winter. So do yourself a favor and make a DIY bird feeder to hang outside this winter. Here are 3 DIY bird feeders that are quick and easy to make. You will love the way these bird feeders will look in your garden. Not to mention, your family will love the increased visits from our feathered friends.
Recycled Paper Feeder

Image Source: birdsandblooms.com
This project is an easy one for kids to help with. All you will need is some newspaper, water, and a bucket. First, you will want to cut your newspaper into strips and let it soak in water for about minutes. Wring the paper strips out and soak them again. Repeat this a few times until most of the ink is gone, and the paper is in small pieces. You can now shape your paper into any shape. Although, it is recommended to keep it around the size of a softball and around 1 inch thick. Let your DIY bird feeder dry completely before spreading peanut butter on both sides of the feeder. Then, all that is left to do is sprinkle on the bird seed and hang it up with some fishing wire!
Tin Can Feeder

Image Source: Pinterest.com
Building a tin can feeder is another kid friendly project. You can use any old soup can to make this bird feeder. First thing you will want to do is rinse out the can. While washing your tin can, you can inspect it for any sharp edges that may hurt or harm little birds. If you have a sharp edge, you can just sand it down until it lays flat. Next, get out your paint and paint brushes! Let your kids have fun painting their cans with whatever designs they come up with. Once the tin cans are totally dry, the only thing left to do is fill up your feeder and grab coordinating ribbon to hang up your new DIY bird feeder. If you want you can even glue in a popsicle stick so that the birds have a little place to stand.
DIY Slinky Wreath

Image Source: birdsandblooms.com
This DIY wreath can be made for only a few dollars. All you need is a toy slinky, a 12 inch macrame ring, and some fishing line. All you need to do is stretch your slinky around your macrame ring. If you see that your slinky “droops” in parts use the fishing line to tie it up. This helps to keep it spread out evenly around the whole ring. Before you tie the top of the slinky together, you can pour a bag of peanuts into the center of the slinky. You can stop filling the feeder once it is about three-quarters of the way full. Then use the fishing wire to tie the slinky ends together and hang from a tree. The bigger birds, like blue jays, will love the peanuts! Just make sure that you are prepared for visits from other furry creatures with this feeder.
In Conclusion
These 3 DIY bird feeders are not only quick and fun to make, but they will look great hanging in your backyard. Making a DIY bird feeder is a good way to get your whole family involved in the garden. Don’t forget to clean out your DIY bird feeders often. So that they stay nice and fresh the whole winter long. You will love the way they look hanging in your backyard garden, and the birds will love the extra food this winter.