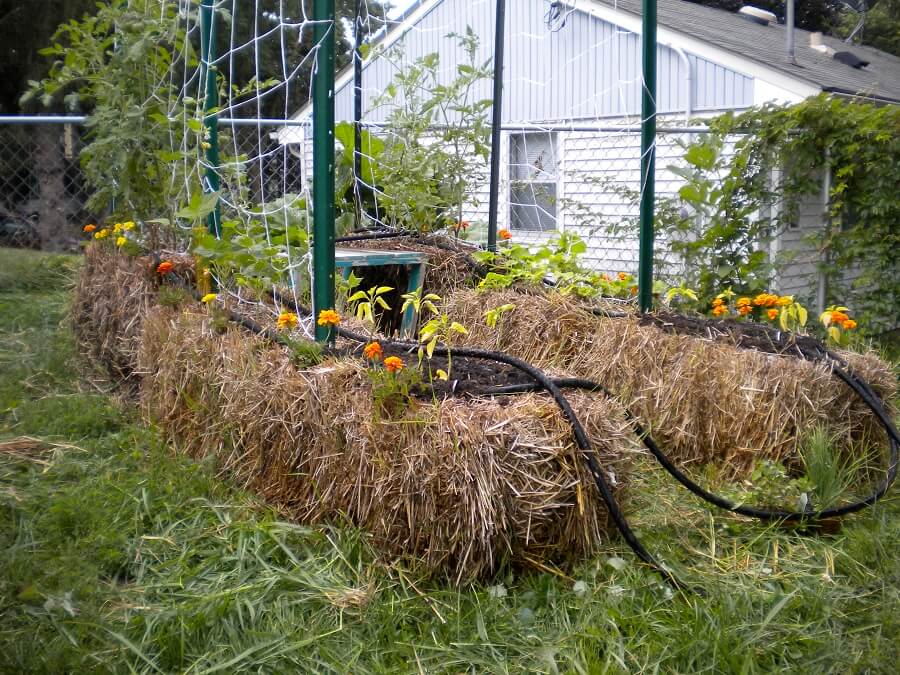
Can Straw Bale Gardening Be Considered a Form of Urban Farming?
Can straw bale gardening be considered a form of urban farming? This innovative technique is gaining popularity in urban agriculture in us cities. By utilizing straw bales as planting beds, urban dwellers can grow a variety of vegetables and herbs even without traditional soil. This method allows individuals to engage in farming practices, contributing to the development of sustainable food systems within urban environments.
Straw Bale Gardening Instructions: The Complete Guide
1. Gather the Materials
The first thing that should concern you when it comes to straw bale gardening is gathering all the necessary materials. Naturally, you’re going to need straw bales. It doesn’t really matter what kind of straw you go for, be it oats, wheat, rye, and so on. The important thing to remember is not to use hay instead of straw. That’s because hay contains seeds, and this might encourage weeds to develop and damage your plants. Also, make sure that the bales are tightly held together, preferably by twine. The next material you’re going to need is compost. It has to be well-rotted and enough for you to be able to fill the holes in the bales where you’ve already placed your plants. Fertilization is also important in straw bale gardening. Even if the plants already get some nutrients from the decomposing straw bales, if you’re going to grow a lot of plants, you’re also going to have to add some extra fertilizer. Finally, make sure that you have a regular water supply if you want your garden to flourish. Fortunately, you’re not going to have to water your plants as much, since the straw bales preserve quite a lot of water.2. Choose the Location
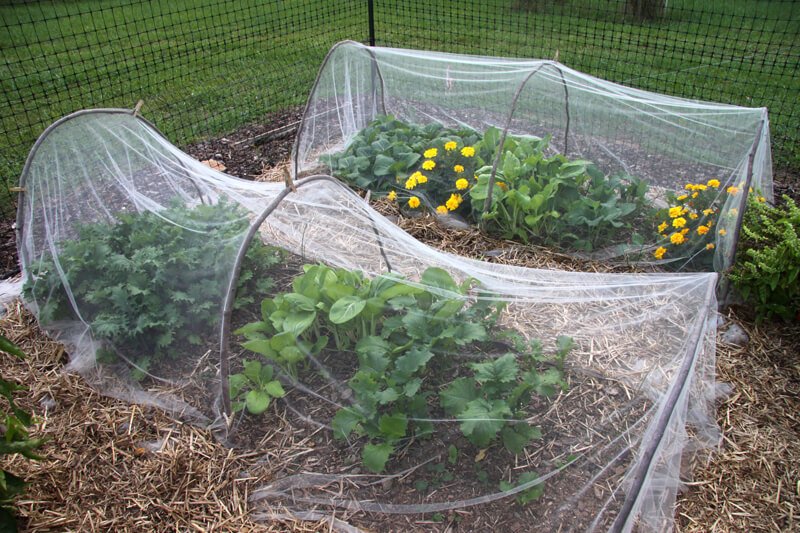
One of the best things about straw bale gardening is the fact that the location shouldn’t concern you as much. If you don’t have a perfectly flat terrain, that’s not a problem. If the soil in your garden isn’t suitable for growing plants, you don’t need it anyway. Thus, the only things that are left for you to do are to ensure your future plants will get plenty of sun exposure, and that they’ll grow next to a place where it’s easy for you to provide them with water.3. Care for the Straw Bales
Straw bales are not an optimal environment for growing plants. Which is why you have to care for them before you use them for this purpose. One of the main reasons behind this step is that straw bales release a lot of heat when they decompose. Excessive heat could damage the seeds or seedlings you’ve planted. Since decomposition is partly due to microbes that take nutrients from organic material such as compost, you should only add compost after they’re done decomposing the straw, if you want to avoid them stealing precious nutrients from your plants. Bales decompose with the help of water as well. Which is why you should water them constantly, and then wait for about 3 weeks until they decompose. If you want to accelerate the process, you can also add a nitrogen fertilizer on top of the bales, and then pour water over it. Before planting anything in the bales, check their temperature. If it’s not too hot, you’re good to go. If it is, you’re going to have to wait a bit more.4. Plant the Seeds/Seedlings
When it comes to planting, the first thing you should know is that you can plant both seeds and seedlings. The most popular option is planting seeds because they have a chance to develop an extensive root system that will infiltrate the straw bales. Straw bales gardening is a great option for people who don’t want to start their garden earlier by planting seeds indoors and then transplanting the seedlings. The reason why that’s not necessary is because straw bales are great at keeping the seeds warm, even if you sow them earlier when the weather is still quite cold.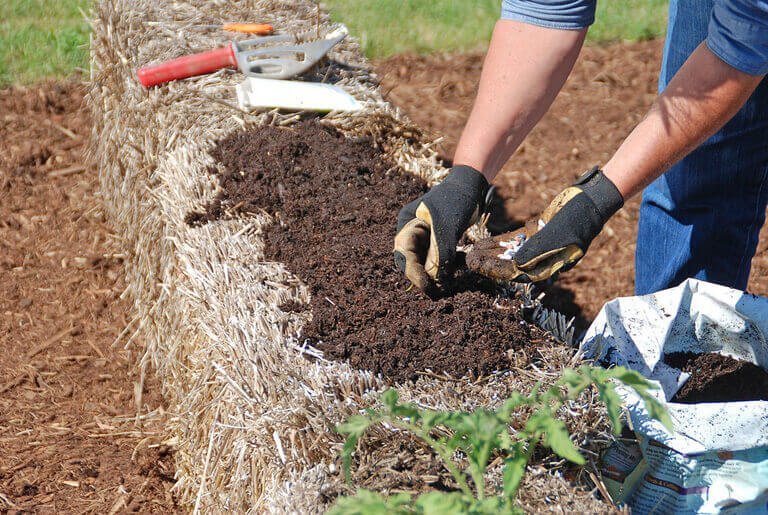 There are two planting methods in straw bale gardening: the flatbed method and the pocket method. The flatbed method involves you adding about 3 inches of compost on top of the straw bales. The pocket method, which is also the most popular one, involves removing part of the straw to create tiny holes for your plants. Don’t make the pockets deeper than 4 inches.
When it comes to the thickness of the bales, the choice is up to you. You can choose the same thickness you would have if you were to grow the plants in a typical raised bed. Or you can make them thicker since the roots of the plants will receive more air like this.
There are two planting methods in straw bale gardening: the flatbed method and the pocket method. The flatbed method involves you adding about 3 inches of compost on top of the straw bales. The pocket method, which is also the most popular one, involves removing part of the straw to create tiny holes for your plants. Don’t make the pockets deeper than 4 inches.
When it comes to the thickness of the bales, the choice is up to you. You can choose the same thickness you would have if you were to grow the plants in a typical raised bed. Or you can make them thicker since the roots of the plants will receive more air like this.
5. Water the Straw Bales
As we’ve already mentioned a couple of times, watering is extremely important when it comes to straw bale gardening. Keeping that in mind, the best way to make sure your plants develop properly is to install drip irrigation, or at least use a soaker hose. That’s because if you pour water over the bales as such, it will pass through them rather quickly, allowing you no way to know for sure that enough water has reached the plants’ roots, which is the whole purpose of watering the plants anyway. Another cheaper alternative to these irrigation systems is to make small holes in some soda bottles and place them next to your plants. As long as you remember to fill them with water about 3 times a week, they’ll take care of watering your plants gradually.6. Fertilize the Plants
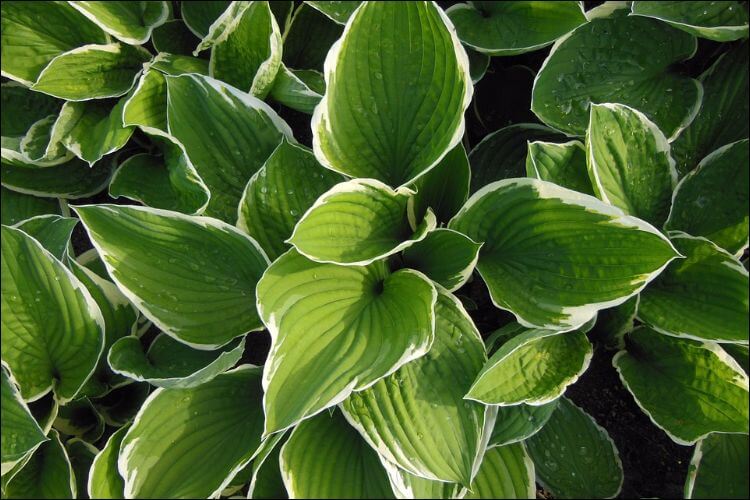
Fertilization is not always necessary in straw bale gardening. However, you can always do it if you want to provide your plants with some extra help. In some cases, you might notice signs of a lack of nutrients, in which case fertilization becomes mandatory. For instance, if the leaves of your plants yellow before they should, it means the straws have a nitrogen deficiency. If the leaves present signs of necrosis on the edges, there’s not enough potassium in the straws. Finally, if the leaves turn purple, lack of phosphorus is what you should look out for. Sometimes, when you’ve already noticed these symptoms, it might be too late for you to act, since the health of your plants might have already been compromised. In order to avoid this, we advise you to fertilize the plants even though they show no signs of diseases.7. Remove Weeds
It goes without saying that you shouldn’t allow weeds to grow with your plants. The great news is that with straw bale gardening, you don’t have to fear weeds as much as you would have if you were to grow plants in the soil. Weeds are not that common, and they’re also easy to get rid of by simply pulling on them. As an extra tip, once you pull them out, you can tuck them back into the straw bales. That way, they’ll serve as additional fertilizer.