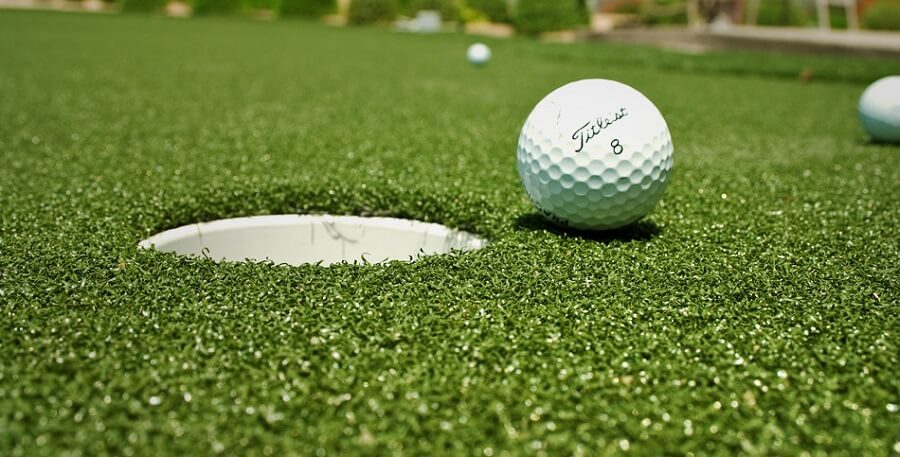
If you’re a golf fan, and you’d like to be able to enjoy this relaxing activity at home, without having to pay good money each time you want to play, then you might want to consider building a putting green in your backyard. You don’t necessarily need a large backyard for this, since putting greens can have different dimensions. What you’ll need, however, is a bit of effort, patience, and some money. There are many things to consider before building a putting green, and we’re going to walk you through every single one of them today. Let’s see how to build a putting green in 10 steps!
How to Build a Putting Green in 10 Steps: DIY Backyard Putting Green
Step 1: Choose a Location
Before actually starting to build a putting green, you have to consider what the best location for it is. You should look for an open area and one where the sun shines constantly. It’s also important to choose an area with an easy airflow, so one without any trees, bushes, or buildings around it which could block the airflow. Also, don’t choose a place which is too low, since it might drain slowly.
We advise you to plan everything on paper, before learning how to build a putting green. Take a piece of paper and sketch out the way you want your putting green to look. Include precise measurements and then check how it would look in your actual backyard. Especially if this is something new for you, and you don’t want to invest that much money into this project, you shouldn’t aim for a large putting green. Instead, start small and see if this is something worth your time, effort, and money.
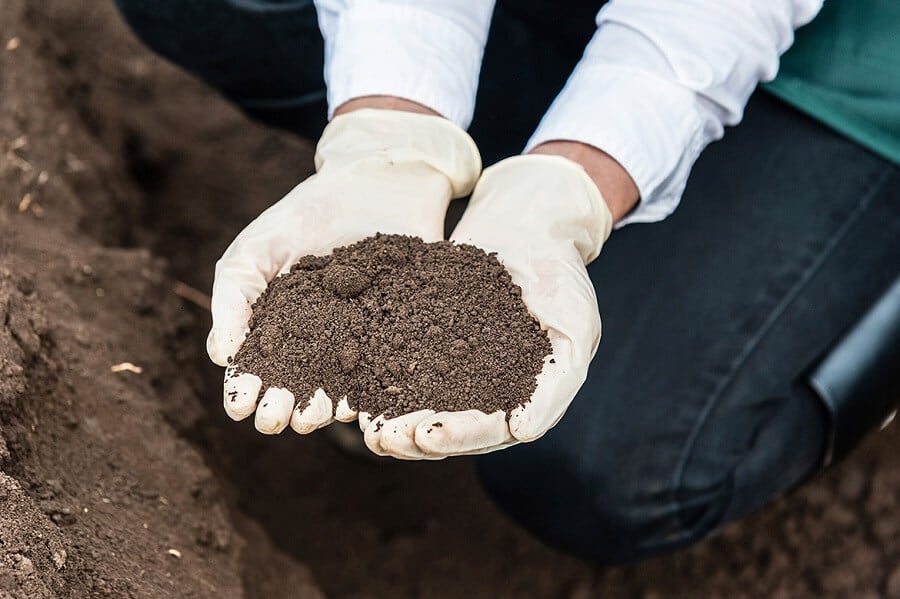
Step 2: Check the Soil
After you have an exact plan in mind as to how to build a putting green, it’s time to evaluate the quality of your soil and see what you can do to improve it for this purpose. Even though ideally, you should have sandy loam soil, the grass you’re going to plant will also grow in other types of soil. If your backyard has clay soil, this might prove to be more of a challenge than in other cases. Sometimes, a clay soil makes it impossible for people to putt when golfing.
If you’re unsure of whether you have clay soil in your backyard or not, you can always perform a percolation test. This is not difficult to perform, and it will give you an idea of whether you can build a putting green in your backyard or not.
What you have to do is dig a hole that is two-feet deep and one-foot wide. Fill that hole with water and check the amount of time it takes for the water to drain. If all the water drains in less than 12 hours, it means your putting green will develop nicely on that soil. If it takes between 12 and 24 hours, only certain plants can live here, mostly those that require clay soil. Finally, most plants will fail to develop on soil that drains in more than 24 hours.
Step 3: Improve Drainage
As we’ve already established, putting greens need soil that drains really well in order to thrive. Some people are lucky enough to have this type of soil without having to do anything to improve it. For people who are not as lucky, there’s always the possibility of installing multiple drainage routes, so that the water doesn’t collect anywhere. You can install drainage tiles just below the surface of the grass. Just remember that you should place them no more than 10 feet apart.
Step 4: Choose the Type of Grass
In order to learn how to build putting grass with real grass, you have to be aware of the type of grass that develops best in your region. Usually, people use two types of grass for building a putting green. The first one is called Bermuda, and the second one is called Creeping Bentgrass. You can also try a hybrid between the two. If you want to check what kind of grass would work best for your region, you can do that by accessing the Putting-Greens website.
Step 5: Prepare the Soil
Before you actually plant your grass, you have to make sure the soil is in perfect condition. That means, first of all, removing any sods that might be left. Then, eliminate any kind of debris by carefully raking the soil. This will also improve drainage, seeding conditions, and aeration. We also advise you to use a tiller, since you want your soil as aerated as possible. With soil aeration comes soil consistency and better grass growth.
The next step is to make sure that your putting green will be as separated from the rest of your backyard as possible. The main reason why you want to separate it is that this will protect the putting green from weeds. Moreover, the rest of your backyard will also be protected against the spread of the type of grass you’re going to plant. The best way to ensure protection is with the help of a plastic lining.
In order for the grass to develop properly, your soil has to be completely leveled. That means no low spots that might spoil the grass’ quality. If you want to make sure that’s not going to happen, use a rake to spread the soil evenly. Always have some sand prepared in case any animal tracks or unplanned low spots appear in your backyard. The final step before sowing the grass seeds is to sink the actual putting hole. Choose the place where you want the hole to be, and use a bulb planter to create it. Remember that the hole should be slightly bigger than a golf ball.
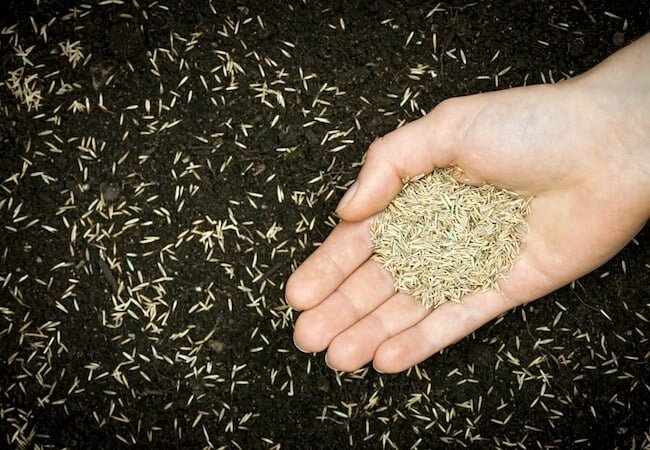
Step 6: Plant the Seeds
Perhaps the most exciting step in our guide on how to build a putting green is the sowing of the grass seeds. You can find both Bermuda seeds and Creeping Bentgrass seeds on Amazon. Mix the seeds with some sand for additional coverage and then spread them all over the area where you want your putting green to grow. As an extra tip, you should know that one pound of seeds usually covers around 2.000 square feet.
Step 7: Fertilize the Seeds
After you’ve planted the grass seeds, it’s time to fertilize them. Fertilization differs according to the type of grass you sowed, but it’s one of the steps you should never skip. The best thing you can do is research online and find the perfect type of fertilizer for your grass. Some research will also help you uncover the best time to fertilize.
Step 8: Water the Seeds
Grass seeds need a lot of water, especially after you’ve just planted them. Thus, you should water them heavily, twice a day. If the weather is particularly hot in your area, you can also try syringing them to make sure they get plenty of water. Syringing means lightly watering the turf to cool off the canopy and ward off wilt. If everything goes according to plan, the turf will germinate in as little as 10 days.
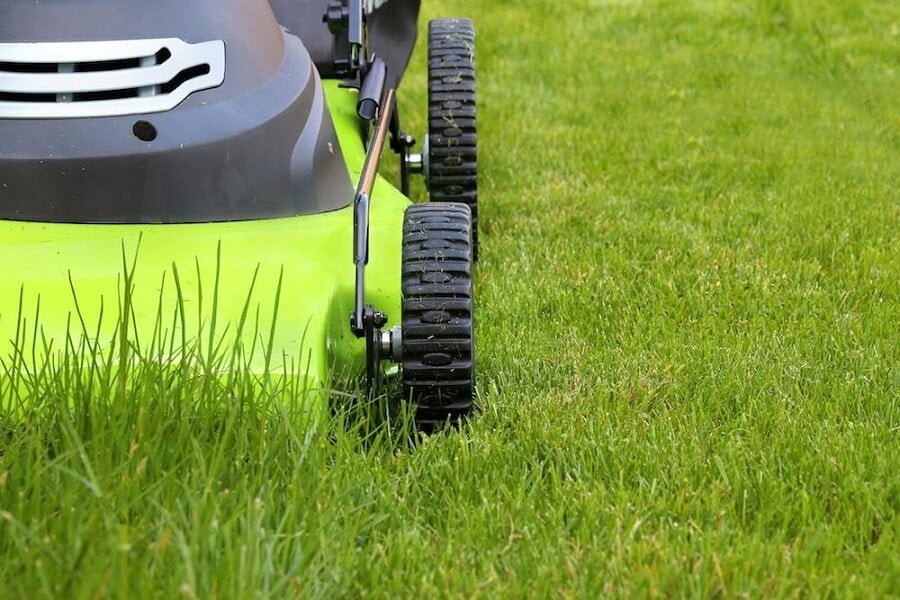
Step 9: Mow the Grass
The first time you mow your grass should be after it’s already at least 2 inches tall. Use a grass mower such as the GreenWorks Lawn Mower from Amazon, and be extremely careful during the entire process. The top layer of the grass will still be quite loose, which means that you’ll have to walk gently and not make any sudden movements. Moreover, remember that a putting green should be mowed as often as 4 times a week, in order to keep the grass at the perfect height.
Step 10: Insert the Putting Cup and Plant the Flag
Finally, we’re down to our last step of today’s guide on how to build a putting green, and this is definitely the most enjoyable one. Once you’re sure your putting green is fit to play golf on, you’re free to insert the putting cup into the hole you created before sowing the grass seeds. This is an optional step, so you can play golf even without a putting cup. However, having one provides the entire putting green with a more realistic look.
Another element which is strictly related to the aesthetics of your putting green is to plant a flag in the cup. A flag also helps you check if the cup is pressed flat against the ground or not. If it’s not, you run the risk of your ball bouncing out of the hole quite often.
Summing It All Up
If you’re a golfing enthusiast, then we hope you found today’s guide on how to build a putting green useful. Building your own putting green at home might take some time, effort, and financial investment, but it definitely has its benefits as well. Just think of the money you’ll end up saving by not going to play golf anywhere else, and of the fact that you have a great way to entertain your friends at the next party. If you don’t have a backyard, you can also learn how to build a putting green inside the house. Take a look at the video below to find out how to make an indoor putting green.