


Winter is approaching, and that means you won’t be spending as much time in the sun. Studies have shown that by the end of winter, the Vitamin D level in your body has decreased by a lot. It is common for people’s skin to become paler than their skin is in the summer days. You may also notice that during the winter you crave for the sun more. But how do you get enough sun when it is cold outside? Well, that is where a sunroom can be handy. Sunrooms, also called a Florida room, garden room, patio room, sun parlor, sun porch, and winter garden is a room made of windows that lets the light shine in. Some sunrooms are very basic, and have only so much room. Others are as big as large living rooms, and usually have enough room for a couple of couches, chairs, tables, and sometimes even a fireplace. Today I’ll be going over how to build a sunroom, the supplies needed, everything that you need to know about buying permits, the average cost, design ideas, and what you need to know about sunroom kits. Hopefully you’ll find this article to be helpful. Now let’s get started so that those long winter days can be full of sunshine.
Supplies Needed
- Windows
- 2 x 6s
- 2 x 4
- Tack nails
- Lag bolt
- Screws
- Shims
- Staples
- Gas stove, vent sleeve, and vent cap
- Polyethylene vapor barrier
- You may need a permit (find out more later in this article)
How to Build a Sunroom
It is time to get building. All sunrooms are different, so consider first what style you would like to build. Today I’m going over how to build a basic DIY sunroom, so you can change the style and dimensions if you want to. Let’s get started.
Step 1:
Begin by removing any porch railings. Next, locate the positions of the knee wall sole plates that go between all the posts. If you want the walls to be flush on the inside of the room, line up the inside edge of these sole plates with the inside surface of the posts. Cut a 2 x 6 to length for each opening and screw it in place.
Step 2:
Next, build a false post on both ends of the porch next to the house. To do this, mark a plumb line on the siding from the sole plate to the porch headers. Cut a 2 x 6 to length and lag bolt it to the siding alongside the plumb line. The width of these false posts is based on the finished openings you need to accommodate your windows. Screw additional 2 x 6’s to the first one until you complete the correct opening.
Step 3:
We’re still working on the wall framing. When the false post framing is complete, cut an exterior trim board to size and tack nail it to the post. Test fit the trim board, and then screw it into place.
Step 4:
Next, screw the end knee wall studs to the posts and the sill to these end studs. Make sure the sill board is level. Then fill in underneath with the rest of the studs spaced apart 16 inches.
Step 5:
It is now time to complete the wall frame. Nail a 2 x 4 to the underside of the porch header so its bottom surface clears the bottom edge of the header trim. Once your wall framing is complete, screw sheathing on the outside. Once the sheathing is on, install the windows. First, lift a window into the opening and slide shims (wedged shaped wood or metal) under both lower corners. Level and plumb the window from the outside, and the screw one top corner of the window flange to the wall. After checking again to make sure it is level, screw the rest of the window to the frame. After installing the first window, continue to install the rest of the windows.
Step 5:
Now it is time to add the exterior trim. Screw a trim board over the ends of the existing floorboards. Apply caulk along the entire perimeter of the sunroom. After sealing the sunroom, continue installing the remaining trim boards.
Step 6:
Now it is time to add heating to your sunroom. A small sunroom may become warm from the sun, but large sunrooms will need additional heat. Most people choose gas stoves to heat their sunroom. That is the type of heating I’ll go over.
Step 7:
If you chose a gas stove, you’ll need to install the vent sleeve. After installing it, you will insulate the sunroom. To do this, cut and fit fiberglass batts between the studs and staple them in place. Then cover the batts with a polyethylene vapor barrier.
Step 8:
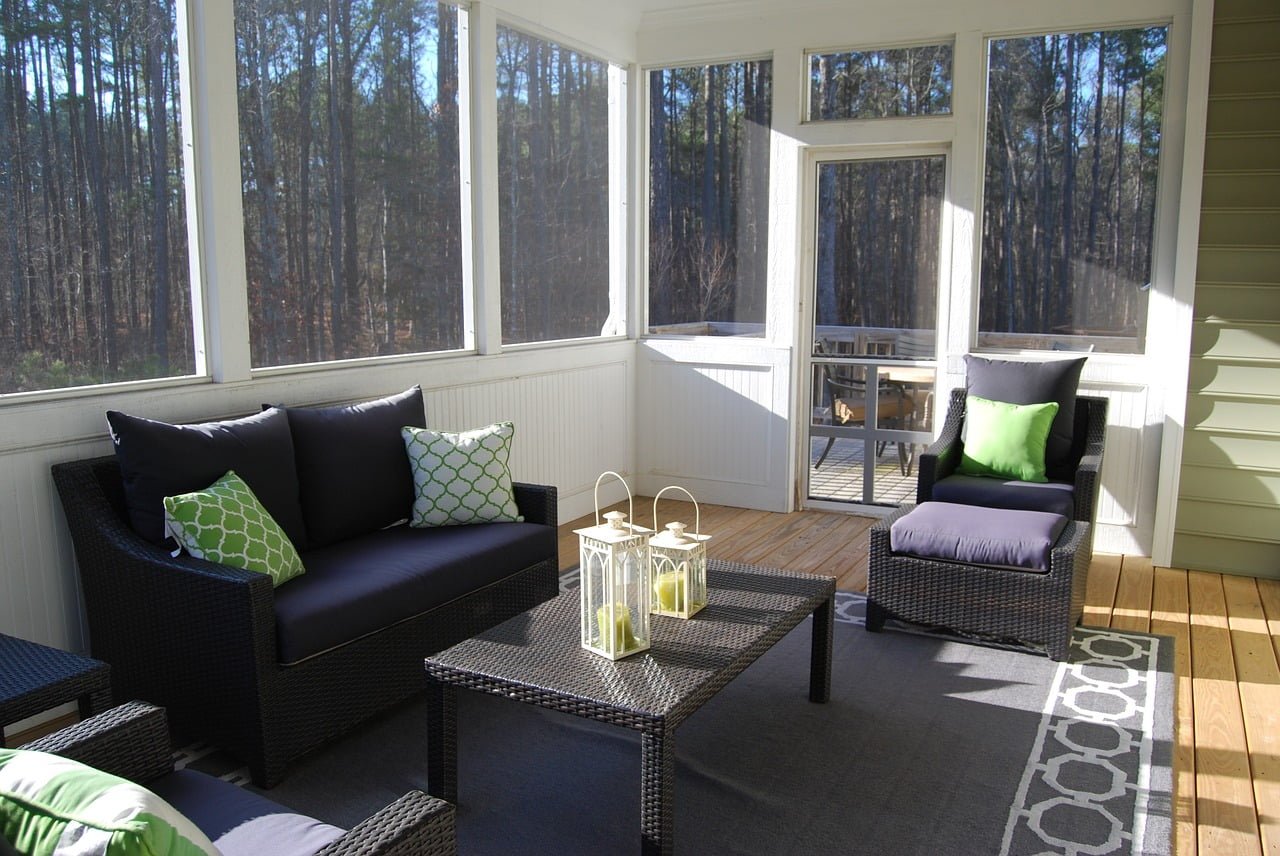
Complete the inside of your sunroom by adding trim so that the interior of the sunroom looks nice. Install the stove, and install the vent cap. Add some couches, rugs, and other furniture to your sunroom.

Image Source: Improvenet
Do I Need Permits?
For most areas you will need to buy a permit in order for you to build a sunroom. If you are screening in an existing covered porch, a permit is not required, but if you are making a weatherproof enclosure of an existing porch, a permit may be required. To find out more about buying permits or if you need permits, contact your city or county.
Average Cost
The cost of your sunroom will depend on how big it is, what design it is, the type of glass, and if you hire a professional to help you build it. Most sunrooms are a couple thousand dollars, although some can be as expensive as $15,000. However, if you are able to find cheap glass, sunroom framing (wood, aluminum, etc), and perhaps have your sunroom be partly screened, the price is going to drop. You may even be able to build one for a couple hundred dollars.
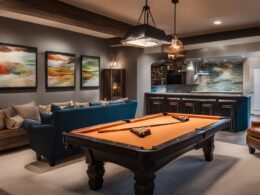
The price is also going to depend on if you buy a sunroom kit. Sunroom kit prices vary from $2,000 to $15,000. Just like building a sunroom from scratch, sunroom kit prices will depend on the style, size, and type of windows. Overall, the average cost for building a sunroom is around $2,000.

Image Source: Homedit
Design Ideas
There are many different design ideas for building a DIY sunroom. Let’s take a look at some of them.
Sunroom With Blinds
If you look closely, you will notice that this sunroom has blinds. While that may seem like the opposite purpose of a sunroom, it is actually a great idea. If the sun is shining in your eyes or if you want some privacy, blinds can be handy to have. Blinds can also add a nice look to your sunroom.

Image Source: Homedit
Above Ground Sunroom
Most sunrooms are level with the ground. Even if your patio has a few stairs, it is common for sunrooms to be close to the ground. However, that is not the case with this sunroom. This sunroom is high above the ground. Because it is high above the ground, you still have the option of using your porch/patio for other purposes. Or you could build a second sunroom on your porch. Whatever you choose to do, this sunroom is definitely unique. Just hopefully you aren’t afraid of heights.

Image Source: Great Day Improvements
Greenhouse Styled Sunroom
A sunroom can be a great place to grow plants. That is what this person did to their sunroom. This greenhouse styled sunroom contains different types of plants, including trees.

Image Source: Homedit
Cubic Sunroom
This simple sunroom is very unique. Although it is a simple glass cube surrounding a house, it receives the same amount of light as a regular sunroom does.

Image Source: Digs Digs
What Are Sunroom Kits?
Sunroom kits are much less expensive than having a professional build a sunroom. Sunroom kits are great for those who want to build a sunroom themselves, but aren’t confident enough to build it from scratch. Because sunroom kits come with most of the materials you need, you won’t have to waste time shopping for supplies. There are many different sunroom kit options. You can get one in almost any design, color, and shape. Keep in mind that some sunroom kits don’t come with windows, since the windows are custom made. This means that you’ll probably be spending more money on windows. Not counting the cost of windows, a sunroom kit will cost around $2,000 to $15,000, depending on the size and design. Overall, a sunroom kit is a great option if you don’t want to build a sunroom from scratch. Here are some other names of sunroom kits:
- Patio enclosure kits
- Screened in patio kits
- Screen in porch kits
- Porch enclosure kits
- 3 season room kits (not made for the winter)
- 4 season room kits (made for the winter)
- Do it yourself sunroom kit
- Sun porch kit
- Florida room kits
- Solarium kits
- Sunroom addition kits

Image Source: Great Day Improvements
In Conclusion
I hope this article has been helpful and inspiring to you. As you can see, building a DIY sunroom isn’t just a dream, but it can also be reality. It is simple to make, and can be a nice part of your home. In this article I went into detail on how to build a sunroom, the supplies needed to build one, the average cost, and if you need permits. I also went over different styles so that you’ll get a glimpse of what some sunrooms look like. Lastly, I went over what sunroom kits are. Sunroom kits are a great idea if you don’t want to build a sunroom from scratch, but don’t want to pay a professional to build one. Keep in mind that most sunroom kits don’t come with windows, so that will add on to the expense. Overall, the goal is to get building and enjoy some sunlight. So what are you waiting for? Your dream sunroom is just a few steps away.


Hello Mariann, I’m a single homeowner and wanting to have a sunroom/patio added. However, contractors that I have contacted hav been very expensive and I do have a limited budget. I have been attempting to educate myself concerning cost and construction and from reading your article I’m learning that they really don’t have to cost 35k for a simple design. Thanks for the article and I will keep reading.