All fans of spicy foods should learn to make their own chili pepper plantation. These tiny vegetables shouldn’t miss from any hot dish you prepare, and you can have them right in your garden. If you have grown regular peppers, or even tomatoes or eggplants, then it shouldn’t be so hard to learn how to grow chili peppers. All vegetables are somehow related, so they require similar conditions to thrive.
Choose the Perfect Chili Peppers
Chili peppers are the main ingredient in many spicy foods. If you like a bit of tickle on your tongue when you taste a spoonful of food, then you need to learn how to grow chili peppers. However, you should remember that hot food is not for everyone.
If you are used to eating incredibly hot dishes, then you shouldn’t worry about what chili pepper variety you’ll choose. All of these peppers contain a special chemical called capsaicin that tingles your nerves from your tongue and oral membrane when you bite into them. This gives you the hot sensation you love.
Varieties of Chili Peppers
If you only like a faint touch of hotness in your food, you might want to do some research on chili pepper types before learning how to grow chili peppers. For the most sensitive eaters, the ideal breed is Bishops Crown, which has only a mild spicy taste.
For the eaters with more experience, some great options are jalapenos, Inferno chili peppers, chili pepper heatwaves, or Joe’s Long variety. If you step up the game, we move to Tabasco and Demon Red chilis, which are indeed very hot. Tropical Heat and Prairie Fire are already burning, while the ultimate level of hotness is achieved by the Naga Jolokia chili peppers.
How to Grow Chili Peppers
After you have decided what chili pepper variety is good for you, it’s time to get ready for planting. You might want to plant the vegetables in the garden, but it’s actually better to start the seeds inside, by creating a sort of indoor vegetable garden. The plant cannot resist frost, so you should transplant it outside only when it’s warm enough.
Growing the Chili Peppers Inside
Pick the Best Moment
If you want your peppers to grow big, you should choose the right moment to start the seeds. Depending on how hot you want your chilis, you can pick a different time for planting. Those scorching varieties need a lot of time to grow, so January should be the ideal month for them. For milder varieties, you can even wait for spring to come.
Also, keep in mind that not only the breed can influence the hotness of your chili peppers. The growing conditions are important as well so, for a full blazing effect, make sure you give the plant whatever it needs.
Add the Seeds in a Container
Choose a container with compartments, and start adding the soil inside. Do not fill the container up to the top, as the plants can grow even with less soil. Don’t forget to choose the proper soil for chili peppers. Pick one that has plenty of compost and good draining properties.
Then, sprinkle the seeds in the container. To make sure your attempt is successful, you can add two or three seeds to a compartment. Then, cover these seeds with another layer of soil, and water each compartment.
Encourage Germination
You will need to add some water from time to time to keep the chili pepper seedlings healthy and sturdy. The soil needs to stay moist, but make sure you don’t add too much water. If it turns soggy, germination will become impossible. Then, the peppers will need warmth as well. To keep moisture and warmth inside, you can cover the container with a plastic bag, a plastic lid, or whatever might keep it sealed.
During germination, the peppers will also need some filtered light. The main requirement is to keep the room where you store them relatively dark. However, give them the minimum amount of light a plant needs. For instance, try keeping them in a garage with a window, and maintain the temperature above 65 degrees Fahrenheit.
Move the Seedlings to Light
When learning how to grow chili peppers, it’s really important to know when to expose them to light. As soon as you see the first sprouts, it’s time to remove the plastic cover and move the container to a place where they get enough light but are not directly exposed to it. Offer them lightly for at least six hours per day. If you don’t have a room where you can keep them, you can use a fluorescent lamp as well.
Transplanting the Chili Peppers
Once you see your chili peppers are quite big, it`s time to think about transplanting the chilis. The little plants should grow between two and four leaves before going outside. Check them regularly, and pick the best moment for transplanting. You might stumble upon weaker sprouts, that will need trimming.
Move the Plants to a Pot First
Before bringing the chili peppers to their final place in the garden, you should get them accustomed to outside conditions. This is why you should first move them to a pot. At first, pick up some pots that are relatively small. Make sure its width doesn’t exceed 3 inches.
Then, fill the pots with 2 inches of soil, and get ready to remove the seedlings from their initial containers. Pull them out gently, so that you won’t damage their roots or tiny stems.
Get the Plants Used to Harsher Conditions
One important step while learning how to grow chili peppers is learning not to kill them. Before moving them to their permanent location, it’s better to get the plants accustomed to their future environment. Spend between 7 and 10 days taking the pots outside and leaving them in a well-lit spot, far from potential adverse conditions.
Do the Transplanting
At this point, you are ready to move the chili peppers into the garden. After all the steps are over, it should be near the end of spring. This means the conditions are ideal for the plants to grow outside. Make some holes in the ground 20 inches apart from each other. Add some fertilizer to these holes, to give the plants the boost they need.
How to Take Care of Chili Peppers
Watering
Good care is essential for your chili pepper plantation. To keep the plants healthy, you need to pay attention to the watering schedule. During the growing season, before the first fruits have appeared, it’s better to water them regularly. Afterward, you can make your peppers get hotter by reducing the water you give to them. If you keep the plants on the dry side, they will release more hot chemicals and make the fruits spicier.
Fertilizing
Once the first peppers appear, you can keep them growing by adding some fertilizer. Every week, administer a fertilizer that contains a lot of potassium. Usually, these fertilizers work for tomatoes as well.
Mulching and Other Procedures
A thin layer of mulch at the base of the chili pepper plants will prevent weeds from growing around them. Also, it will keep the soil moist, and assure the growth of the peppers. Before the plants make any fruits, you can make them grow bushier by pinching the first flowers on each stem.
Harvesting the Chilis
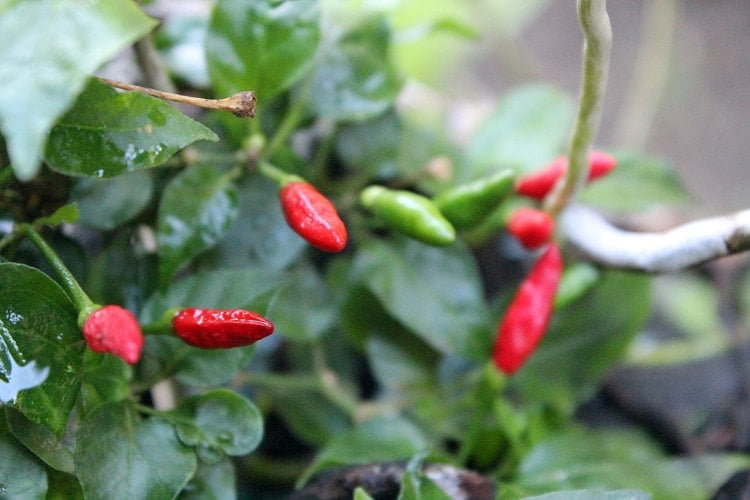
About three months after the transplant, your first chilis should appear. However, this depends on the time you have started all operations. For some sturdy fruits, you will need long summer days with plenty of sun. If you have done all the transplants too late, the peppers might start suffering when days start getting shorter. Therefore, the earlier you can do everything, the better.
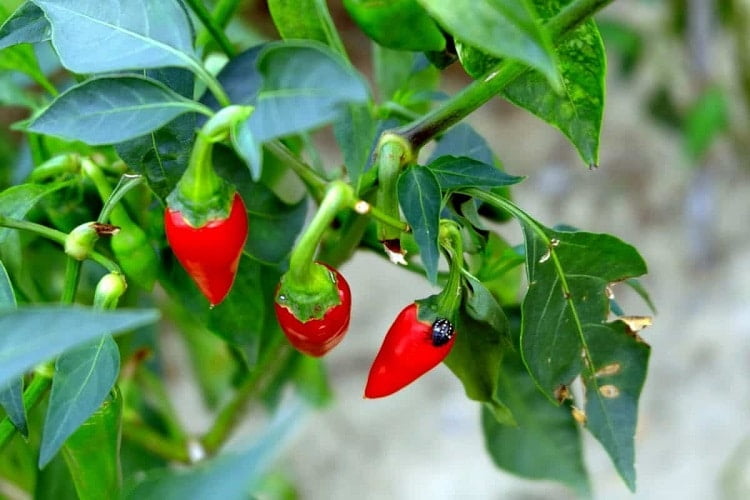
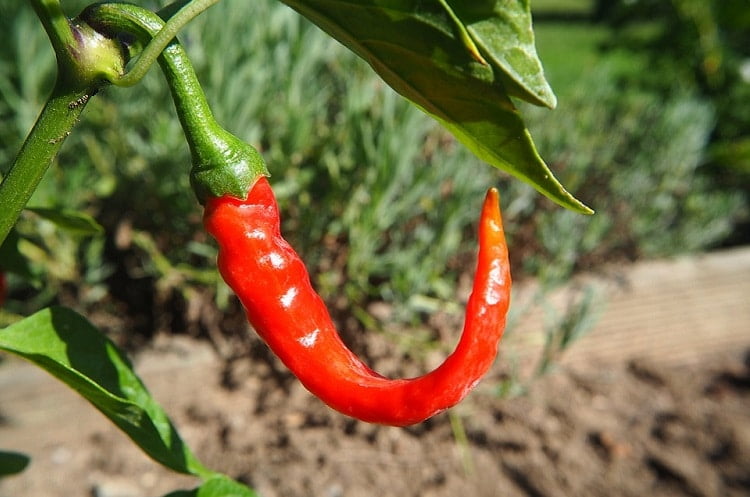
You’ll know when the chilis are ripe judging from their intense color. When it comes to their size, this only depends on their variety. Some of them might be ready to harvest when they’re only an inch long, while others reach about 8 inches in length. Then, removing the fruits from the stems is incredibly simple. By using a knife or a pair of scissors, you can cut the peppers without much effort.
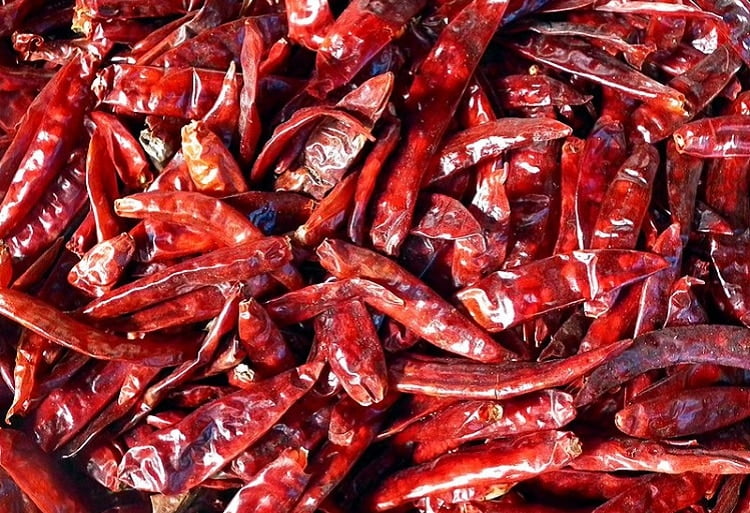
Storing the Chilis
You have two options if you want to keep the chili peppers for a longer period of time. Most people choose to dry them by hanging them on a thread and keeping them in a warm, dark, but aerated place. In four or five weeks, your peppers should be fully dried.
You can also freeze the chilis, but you need to be quick and do it immediately after you harvest them. Once you defrost them, you can use them just like you would do with some fresh chilis. If you find them softer than before, there’s no need to worry. Freezing won’t affect the taste.
Summing Up
Learning how to grow chili peppers is essential for everyone who enjoys a spicy meal. These vegetables are not hard to plant and care for and can resist throughout the entire summer. If you are careful enough with them and start the seeds inside, you should have those yummy chilis ready just as the warm season starts.
Image source: Pexels