
Step 1 – Cleanup
First, you need to clean everything of debris and dust accumulated over the cold season.- Patch up the fences. Scrape the places where the paint is starting to peel off. If It’s a wooden fence, look for split pieces of wood. Try to fix as much as you can before applying paint (see below).
- Clear lawn of debris. Use a brook or a rake and pile up pieces of junk and plant debris.
- Rake old leaves. This should be self-obvious. Don’t throw these away, however.
- Wash up the furniture. Use a hose to remove the first layer of dirt. Then, using a mixture of water and detergent, scrape the furniture thoroughly (especially if it’s made of plastic). Lastly, rinse it all off with the hose at the end.
- Clean the pavement/pathway. Broom up any traces of dirt and debris.
- (optional) Clean your grill. You’ll probably get to use this soon enough so it’s best to have it ready.
- Clean and your deck of dust and debris. If you have a deck, clean it up a bit. We’ll be taking care of it further down the line.
- Throw away and/or replace broken things (chairs, screen doors, etc.). Stuff tends to break, especially if they’re like flimsy screen doors, cheap picket fences, cheap garden gnomes, etc.
- Fix cracks in the siding or driveway. These can be more difficult to fix. Make sure you clear out all the weeds before attempting to do so, otherwise they’ll peer out through the cracks.
Optional (part of the house cleanup):
Landscaping means taking care of everything that comes into a landscape.- Clean gutters. Use some thick gloves and be prepared for the mess you’ll find there.
- Patch up the exterior walls. Like with your fences, scrape the paint that’s peeling off and try to fix minor stuff. If you have siding on the walls, clean it with your garden hose.
- Clean windows. Nothing’s worse than a neat landscape with dirty windows.
Step 2 – Checking devices and appliances
You need everything in working order before you’re prepared to start landscaping throughout the year.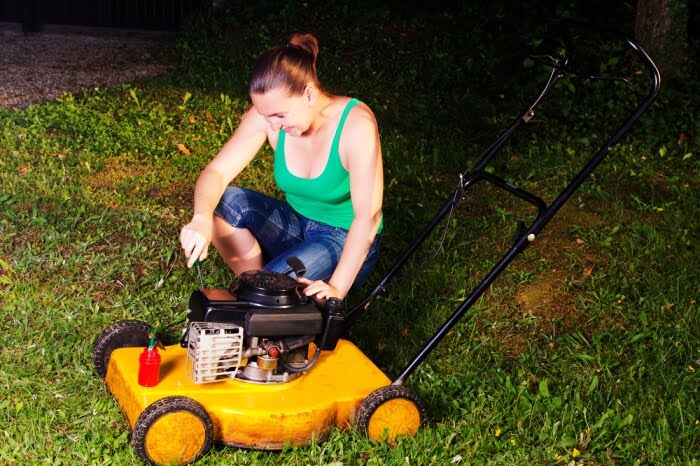
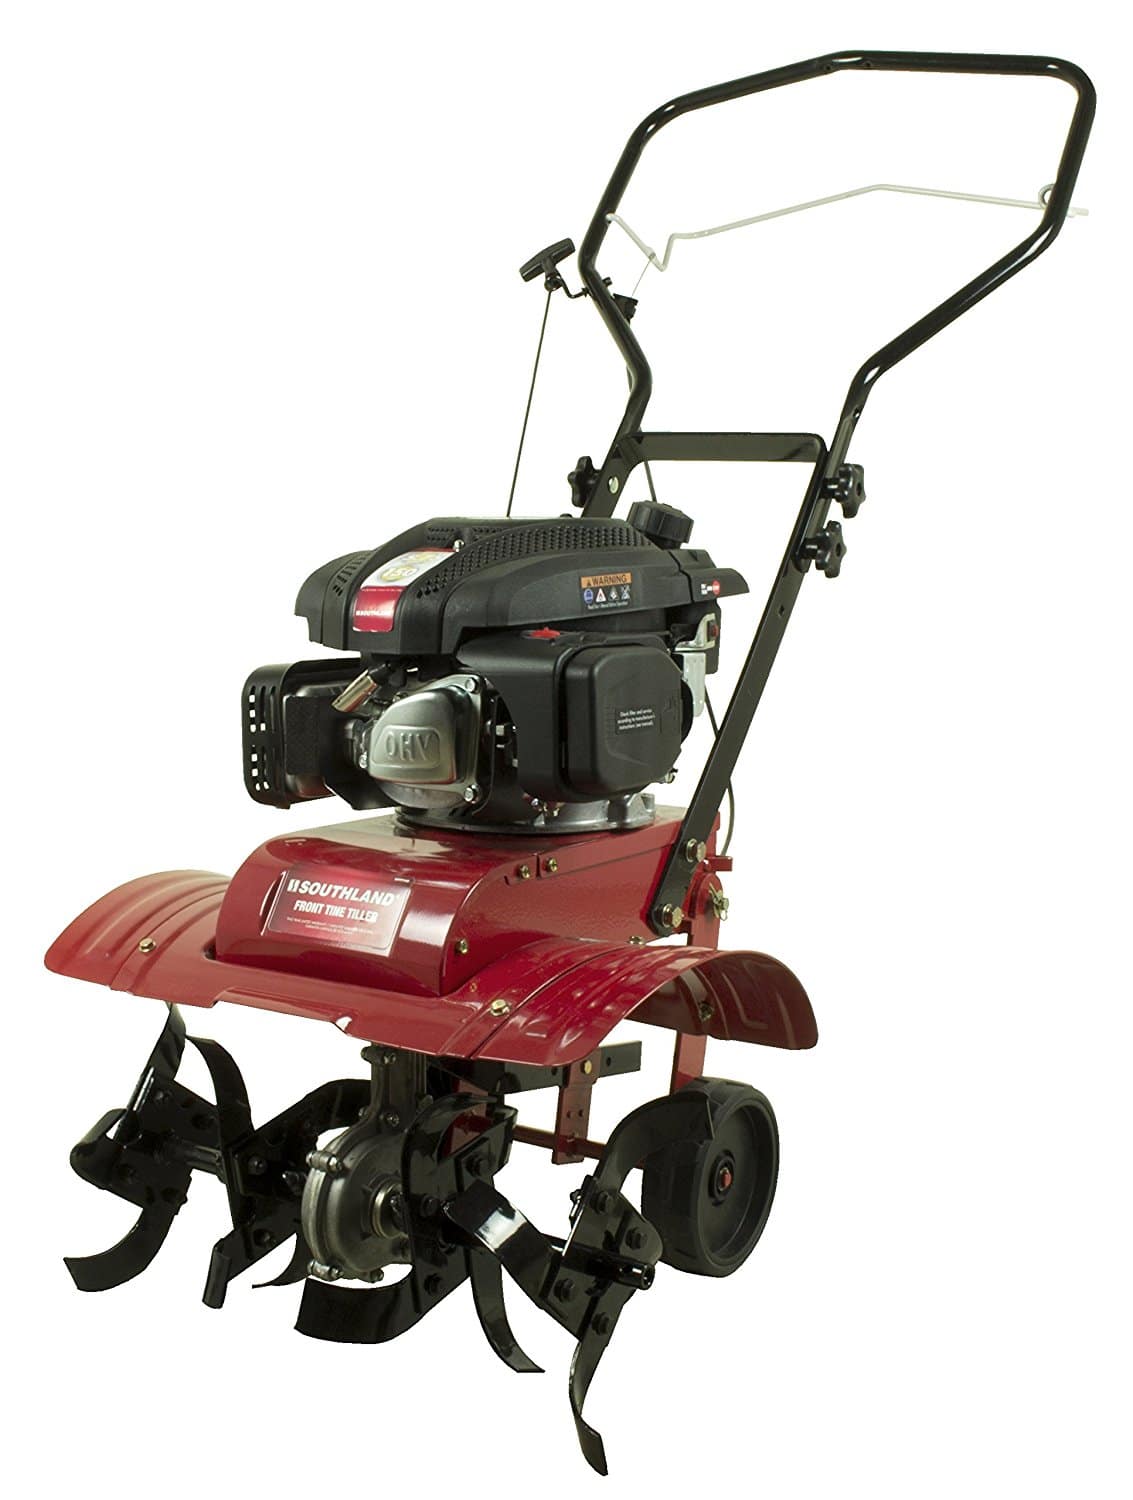
- Check your lawn mower (or string trimmer):
- Make sure it’s sharp enough and replace the blades if necessary.
- Change the engine oil.
- Change the filter.
- Clean it as best you can.
- Check that outdoor faucet is in working order.
- Look for leaks. Use a few paper towels and gently tap the corners and faucet. If they get damp, it means you’ll need a to fix the pipes.
- Install your hose and check for leaks. Turn the water up and look closely at the hose. Furthermore, you can do this while you’re using the hose for one of the steps we mentioned earlier.
- Install the sprinkler system and see that it’s in working order. Sprinkler systems are notoriously twitchy and temperamental.
Step 3 – A Fresh Coat of Paint
You’ll want to do this before anything else. It’s much more frustrating to drop dabs of paint on your landscape once you’ve managed to pretty everything up.- Paint your walls. Only the spots that need a bit of fresh paint. Or do all of the walls – but it may take considerable time… and money.
- Paint your fence. Unlike with the walls, we recommend a completely new coat of paint. Still, you can do with just a few spots if it’s okay overall.
- Paint your driveway and/or pathway. Adding a bit of color can do wonders for your landscaping project.
- Spruce up your deck:
- Remove furniture. You don’t want any chemicals or sealer get on your freshly cleaned furniture.
- Replace damaged boards. This may be a bit tricky so we recommend a specialized guide to replacing broken deck boards.
- Sand damaged areas of your deck. We recommend using a belt sander for larger areas of your deck. A finishing sander will help you add the finishing touches along the edges.
- Cover surrounding plants and siding. Just like you don’t want chemicals or sealer on your furniture, you don’t want it on your house or plants either.
- Apply deck cleaner and spread evenly. Use a broom to spread it around. Pro tip: have someone help you with this to avoid uneven spots. While you apply the cleaner, your little helper will broom it up.
- Scrub particularly dirty areas. Using an appropriate sponge, scrub thoroughly wherever you know that there’s more dirt than usual.
- Rinse the deck. Take out your hose again and rinse away the cleaner. Leave to dry before moving on to the next step.
- Apply deck sealer or stain with a large paintbrush. You will need to save up a lot of patience for this step. Leave to dry.
- Paint or apply wood protectant to outdoor furniture if necessary. Outdoor wood furniture may be the prettiest, but it’s also tougher on the upkeep.
- Paint anything else you think could use a bit of color, while you’re at it.

Step 4 – Taking Care of Existing Plants
- Prune trees.
- Remove dead branches.
- Cut off dead parts of branches and any leaves.
- Leave about 2/3 of the tree covered in live branches.
- Don’t remove too many large branches towards the bottom.
- Remove all weeds that have already turned up. This is a mandatory step – you don’t want weeds before planting – simple as that.
- Trim shrubs, bushes, and perennials. Make intricate shapes and designs. Move them around. Do whatever you like as long as it looks pretty.
- Cut woody stems from garden plants that managed to survive over winter (e.g. roses). Roses are notoriously difficult to care for, so you might want to check out a guide to pruning roses the correct way.
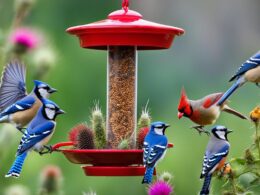
- Move the plants from your house outside. Pick the ones that you think can handle the weather and move them outside. Furthermore, you can even get some new pots for them that’ll be sure to enrich your yard landscape.

Can Winter Porch Plants Be Transferred to Spring Landscaping?
Can winter porch plants for all winter be transferred to spring landscaping? This is a common question among gardeners. While some winter porch plants can thrive outdoors in the spring, others may struggle to adapt. Factors like temperature, sunlight, and moisture levels should be considered before making the transfer. It is best to research each plant’s specific requirements and consult with experts for a successful transition.
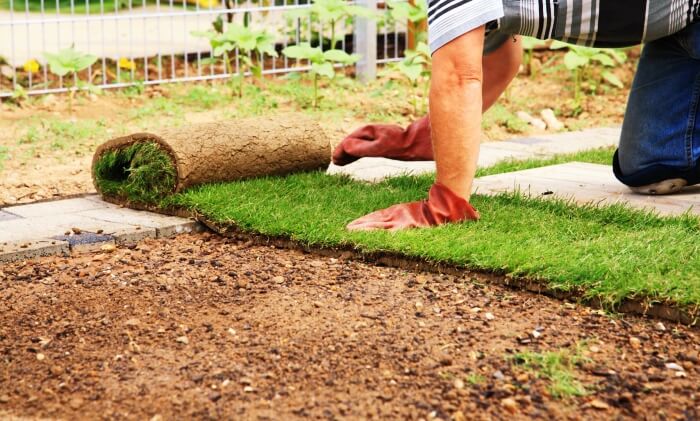
Step 5 – Preparing for New Plants and Planting Them
- Create a rough outline of the beds. You can go for basic beds or raised garden beds.
- Add mulch.
- Add mulch to flower beds.
- Mulch garden plant beds.
- Don’t forget to mulch tree rings.
- Apply pre-emergent weed killer to your lawn and plant/flower beds. Nothing takes care of weeds like a bit of pre-emergent weed killer. It’s better to look ahead than to look at a lawn fully of nasty crabgrass.
- Edge plant beds. Use a shovel with a flat edge or even a mechanical bed knife – either way, make sure you do it correctly. Landscape edging can be a bit tricky.
- Aerate your lawn thoroughly, carefully feeling for rocks in the soil. Use a good pair of aerator shoes or make some aerator shoes yourself.
- Make sure everything is in place before you begin planting (rocks, shrubs, pots, etc). Look for some cool landscape design ideas before you begin.
- Begin planting:
- Seed the lawn thoroughly.
- Overseed bare spots.
- Plant flowers that bloom in the summer.
- Plant any garden plants.
- Use a slow release fertilizer to make your lawn and plants grow. Make sure you get the best fertilizer that you can for your specific type of lawn.