Before Planting
1. Check If You’re in the Right Growing Zone
In general, rhubarb is a cool-season plant. It requires temperatures that go below 4 °C (40 °F) if you want it to thrive. If you live in Canada or the North of the U.S., then you have nothing to worry about. However, besides that, you can grow rhubarb if you live in the USDA hardiness zones 3-8, which is the north and the northeast. Rhubarb doesn’t grow well in areas where there are hot summers, such as the south. Because of this, if you live in the south, it’s not going to be easy to decide if and how to grow rhubarb.
2. Get Rhubarb Crowns
If you think of how to grow rhubarb, you must know that the best way to do it is to grow from roots (crowns), not from seeds. The latter takes a lot of time to get established and you don’t even have a guarantee they will germinate. As such, go to the local nursery and get yourself some rhubarb roots. Alternatively, you can order them online or dig up a crown from someone else’s rhubarb.3. Choose the Planting Location
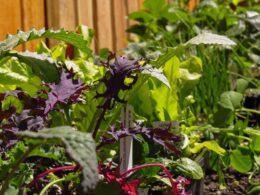
Despite loving low temperatures, rhubarb needs to grow in an area with full sun. The location should offer good drainage since this plant doesn’t like water sitting around the base. If you want to find out if the soil drains well, you should dig a hole and then fill it with water. In case the water sits there, this means that the soil doesn’t have a good drainage. If it is soaked into the ground immediately, then you have a good soil. Alternatively, you can get a ruler and stick it into the hole. In this way, you can measure how quickly the water drains. The ideal rate should be 1-3 inches every hour. It’s important to find a balance here. If you see it draining too fast, there is the risk for the rhubarb to dry out. However, if it drains too slow, the roots are at risk to rot.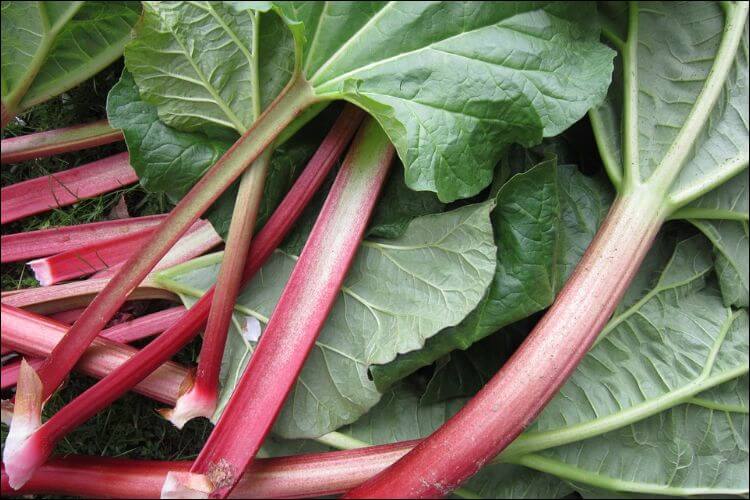
4. Prepare the Soil
Before planting, clear out any weeds or plants that may affect your rhubarb. Till the gardening bed several feet down. Add lots of compost or compost tea, manure that has rotten or other types of organic matter. This helps the soil become rich. It’s a step you shouldn’t skip since this offers the necessary nutrients for rhubarb. It’s a good idea to build a raised bed, not only for rhubarb but for other vegetables as well. This helps a lot with the soil drainage and it’s easier to control the weed population too. Keep in mind that you shouldn’t use pesticides or herbicides since rhubarb needs clean soil. If it’s necessary, you could use a natural weed killer, but try to avoid it as much as possible. In the first year of growth, don’t use any chemical fertilizers either. Only in the second or third year you should start using organic material.Planting Rhubarb
5. Dig Holes
When learning how to grow rhubarb, it’s important to offer the plants the space they need. As such, dig holes that measure 4-5 inches (10.2 – 12.7 cm). Place them 3-4 feet (0.9 – 1.2 m) apart. Rhubarb can grow to be large so don’t forget to think about this beforehand. Moreover, the holes should be placed in rows.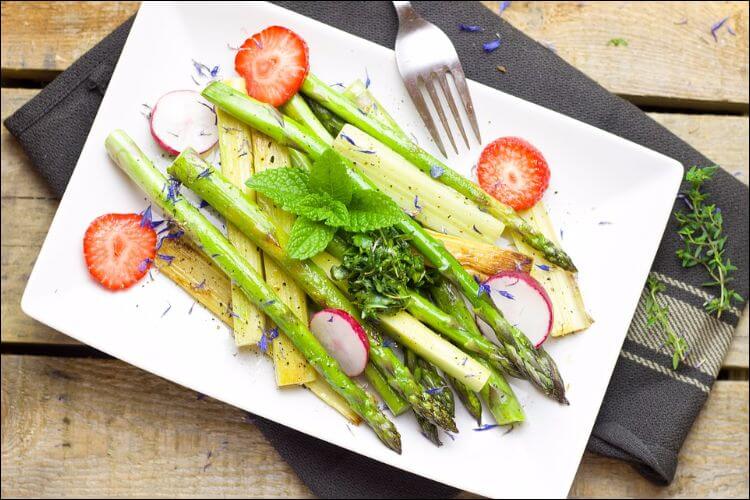
6. Plant the Rhubarb
Place the rhubarb roots 2 inches (5.1 cm) down from the ground surface. Put them in the holes and then cover them up with soil rich in compost. When you’re done planting, water the roots.Caring for Rhubarb per Season
7. Use Mulch
An important part of knowing how to grow rhubarb the right way is to use mulch. Place it over the rhubarb bed both in spring and in fall. Ideally, you should use cow manure and hay since these help prevent any weeds from growing. Moreover, they offer continuous nourishment for the rhubarb. Alternatively, you can go for ramial wood chips or leaf mulch.8. Water It
In summer, you should keep it watered. As we mentioned in the beginning, hot summers are a danger for rhubarb. For this reason, all through the heat you should make sure the rhubarb bed is well-drained and moist. If you notice the soil looks dry, water it immediately.9. Remove the Seed Stalks
Seed stalks usually prevent the plant from growing strong and tall. They use up all the energy found in the plant. Because of this, you should remove them before they get a chance to become too big.
10. Fertilize It
After you learned how to grow rhubarb and the plant survived a year, now you can start fertilizing it. Every spring, apply lightly a fertilizer high in nitrogen. In this way, you encourage the plant to come back healthy. Ideally, you should take this step after you notice the ground started thawing.Are Pygmy Goats Compatible with a Garden That Includes Rhubarb?
Pygmy goats require ultimate care for pygmy goats, especially when kept around a garden with rhubarb. It is crucial to ensure that the plants they have access to are safe for consumption. While goats typically avoid rhubarb due to its tart taste, it’s still essential to monitor their interaction with the plant to prevent unwanted consumption or potential digestive issues.
Pests and Possible Diseases
11. Pick Off the Curculio
In general, rhubarb doesn’t get too many pests. However, you may see a little beetle on its stalks. Its colored in a light gray shade and it’s called the rhubarb curculio. The curculios measure around half an inch long. The best approach is to pick them off one at a time. Using pesticide is not recommended, since this can harm your rhubarb plant.Harvesting and Using It
12. Do It in the Second Year
If you look up how to grow rhubarb, you will see that this plant needs a year until it’s completely established. As such, you need to wait until the second year. Only then you can start harvesting the stalks.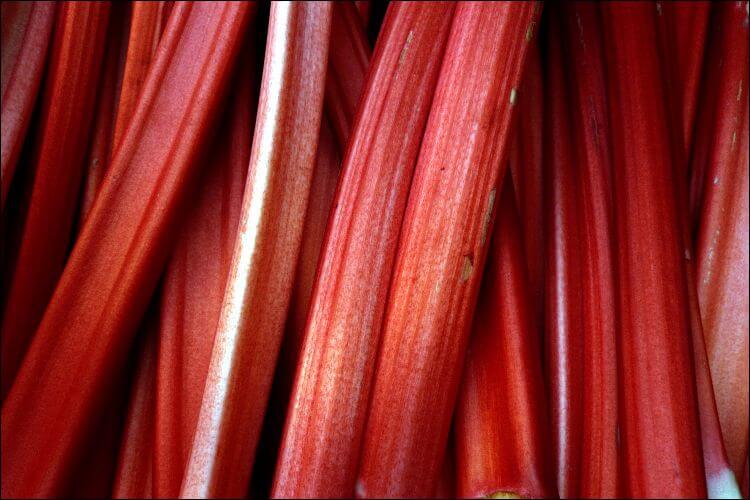
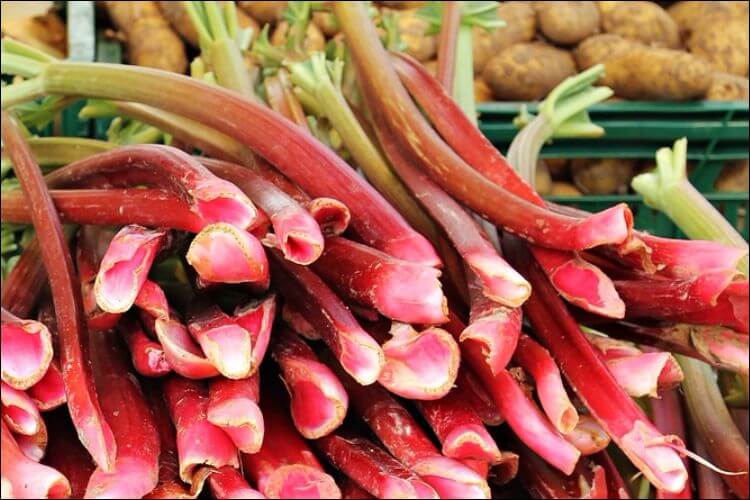
13. Make Sure They Are Mature
When the stalks are mature, they measure between 12 and 18 inches (30.5 – 45.7 cm) in length. You should continue to harvest them all through the summer. Remember that the season lasts 8 – 10 weeks. Start harvesting towards the end of May and the beginning of June. Cut off the stems at soil level with the help of a sharp knife. Ideally, if you want to know how to harvest and how to grow rhubarb correctly, you should harvest several times. Each time, cut off a few stems from each plant. If you harvest slowly, you let the rest of the stems get some of the energy found in the plant. Keep in mind that you should always leave a minimum of two stalks for each plant. In this way, the rhubarb can store up some energy for the following year. When the stalks start to grow thin, it’s a sign that the harvesting season is over. Just like we mentioned in the beginning, plants can return up to 20 years once you establish them.14. Store It in the Refrigerator
If you’re not planning to use it right away, you should place the rhubarb in an airtight bag and keep it in the refrigerator. In this way, it can last up to a week. A good alternative is to cut the stalks into chunks and keep them in a freezer-safe container in the freezer for a couple of months.15. Use It in Recipes
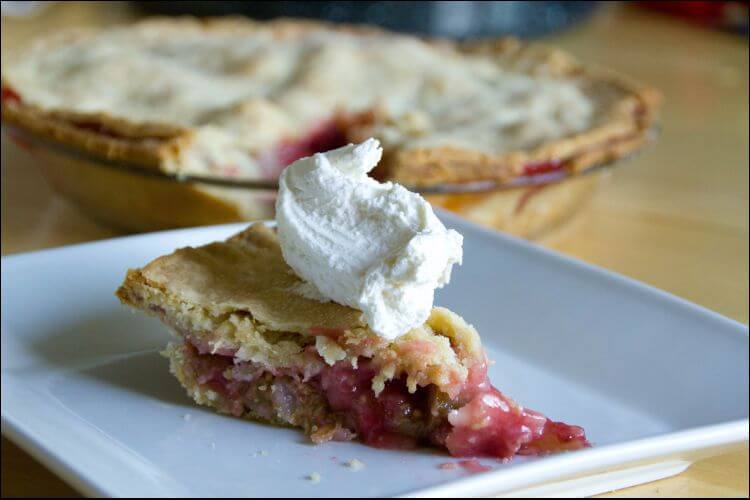
The most common recipes for cherry red rhubarb stalks are the dessert ones. Whether it’s a pie or a tart, rhubarb offers a bright and tangy flavor to it. Here are some brief recipes suggestions you can use once you start harvesting your rhubarb:- Rhubarb Pie – this is a classic dish that everybody loves. You need to cook the plant with some sugar. If you want to enjoy a special taste, you can add strawberries to the filling.
- Rhubarb Ice Cream – for this recipe, you can store rhubarb in the freezer and use it up all throughout summer.
- Rhubarb Crumble – this one is a little easier to make than a pie, but it still preserves the great taste. Adding some flavorful biscuits or going for crazy combinations will surely make for an original recipe.
- Rhubarb Cream – mix rhubarb with cream and honey to get a great topping. Then, you can use for any other kind of dessert you prefer. Or you could simply eat it like that if you’re impatient.