Can Tomato Fertilizer Also be Used for Growing Pumpkins?
Can the best tomato fertilizer choices also be used for growing pumpkins? While tomato fertilizers contain essential nutrients for healthy growth and development of tomato plants, they may not meet the specific requirements of pumpkins. Pumpkins have different nutrient needs, so it’s recommended to use fertilizers designed specifically for them for optimal results.
How to Grow Pumpkins for Halloween
1. Choose the Best Time
Late July is the best time to plant pumpkins for Halloween. If you want a full harvest in fall, then plant towards the end of spring and beginning of summer. However, you should consider the climate in your area. Keep in mind that pumpkin seeds can’t germinate if the soil is cold, so make sure the chance of frost is gone. Usually, it takes 95 to 120 days for the pumpkins to mature.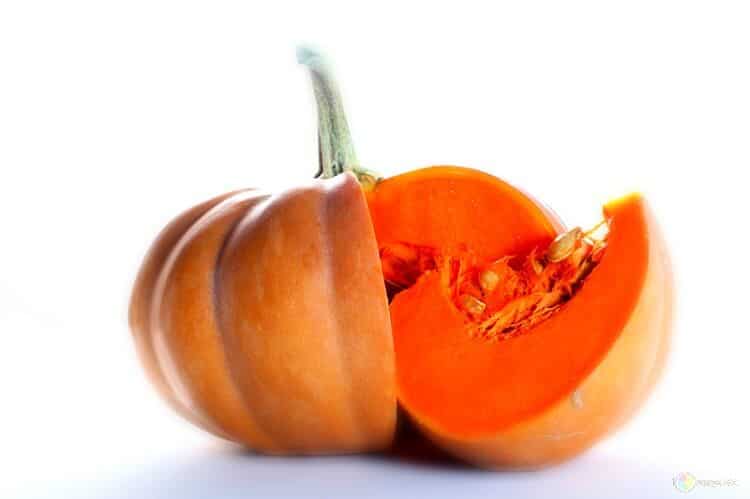
2. Choose a Planting Spot
The most important thing to know when choosing the planting spot is that pumpkins grow on vines. As such, they need lots of space if you want them to thrive. Make sure there is an open space of 20 or 30 feet (6.1 or 9.1 meters). They can do just fine if you plant them along the fence in the backyard or the side of your house. An important part when thinking of how to grow pumpkins is to choose a sunny place. Make sure they will enjoy the sun all day long. Moreover, the soil needs to be properly drained. For example, clay soils don’t absorb the water quickly so they’re not adequate. Before planting, you can use a soil tester. Tip: before planting, compost the soil for an extra boost.3. Choose the Seeds
You can order organic seeds from a catalog or simply go to your local nursery. There are lots of pumpkin varieties to choose from, but as a home grower, you are probably interested in only three:- Small decorative pumpkins (mini pumpkins);
- Large decorative pumpkins (perfect for Jack O’Lanterns);
- Pie pumpkins (tasty and perfect for cooking).
4. Plant the Seeds
When learning how to grow pumpkins, it’s important to know that you must plant the seeds in “hills”. Create a mound of dirt and place the seeds 1-2 inches deep (2.5-5.1 cm). This strategy helps with draining the soil, letting the sun heat it faster. Furthermore, this leads to a faster germination. Place 2-3 seeds inches apart to make sure one of them sprouts. If the seeds are of good quality, it doesn’t matter how you place them.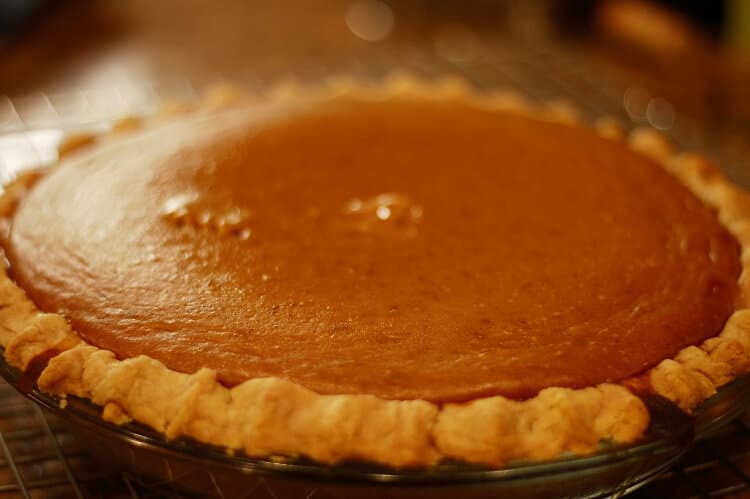
5. Create Rows
As we mentioned before, most pumpkin varieties grow in vines. This means that the hills need to be 12 feet apart (3.7 meters). Moreover, the rows should be 6 to 10 feet apart (1.8 to 3 meters). However, it’s better to ask the nursery clerk or to check out the instructions. For example, a “bush-type” variety grows on shorter vines, so you don’t need all that space.6. Use Compost
Now it’s time to cover the seeds you planted with compost. However, if you composted the soil before starting to plant them, you don’t need to do it again. The idea here is to add compost or mulch in a thin layer where you placed the pumpkin seeds. This step will help you keep the weeds out, as well as nourish the seeds. If you take good care of them, you should see sprouts in about 7 days.7. Water the Plants
Learning how to grow pumpkins presupposes knowing how to water them. Generally, pumpkin plants require lots of water. Keep an eye on them and water them only when the soil looks slightly dry. Don’t add water when the soil is already wet. The best thing is to offer them deep and rare waterings. Tip: Don’t get water on the leaves. This will lead to the appearance of a fungus (powdery mildew), which makes the leaves wither. Eventually, it causes the plant to die. You should stop watering the pumpkins a week before the harvest.8. Fertilize
Fertilize the plant when you see they first sprout. This should happen a week or two after you planted them. This step is important because it ensures a healthy growth for the pumpkin. You can find adequate fertilizers at any local nursery. Make sure you mention what you need it for.9. Control the Pests and the Weeds
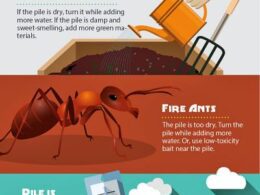
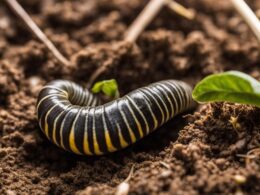
It’s important to keep an eye on your pumpkins if you want them to grow healthy. Another important part of a guide on a how to grow pumpkins relies on weeding the patch. The more weeds there are, the more nutrients they will steal from the pumpkins. Weeding should be done a few times a week. Beetles are yet another problem. Check the leaves and blossoms often to spot if there are any. They are dangerous because they eat out the plant tissue, leading to the plant’s death. A few times a week you should take them off the plant. Look under the leaves as well, since there is the place where aphids hide. These should be sprayed off with water in the morning. Use an organic pesticide only if absolutely necessary. However, before doing that, try to get rid of the issues through other methods: spraying with water, removing bugs by hand etc.10. Check If They Are Ready
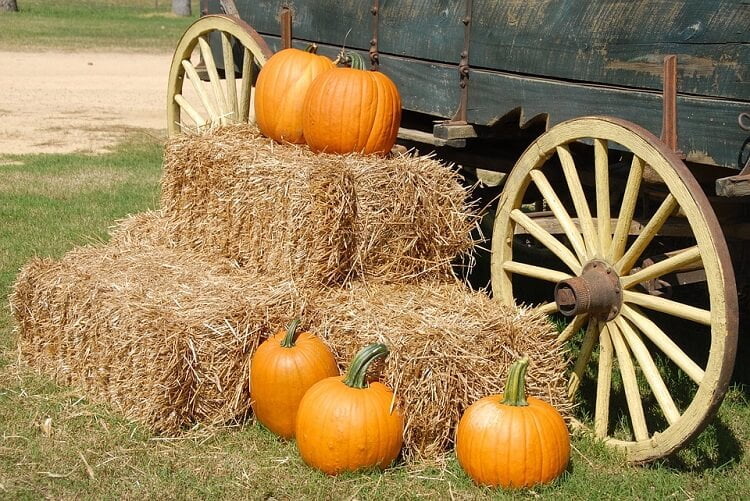
Depending on the species, you should be able to tell when the pumpkins are ready. Generally, they should have a bright orange color and a hard shell. When they are done, the vine starts to wither and to dry, as well as the stems.
11. Don’t Get Them Soft
We know that you are anxious to see the result of your hard work. However, if you want to have perfect pumpkins for Halloween, don’t hurry. If you harvest the pumpkins while they are still soft, they will only last a couple of days and then spoil.12. Cut Their Stems
With a pair of shears, cut the stem of the pumpkins. Leave it to just a few inches long. Pay attention! Don’t break the stems off, since this will make the pumpkins rot.13. Storing the Pumpkins
The last part when learning how to grow pumpkins is knowing how to store them. They should stay in a cool and dry place. Keep them away from dampness, direct sunlight, and humidity. You don’t need to store them in a fridge. The good thing is that they last for a couple of months after you harvested them. One prevention measure you can take is to rinse them with a mild chlorine substance. This is good for discouraging fungi or mold from appearing. The ideal recipe is 1 cup (240 ml) chlorine bleach (the household one will do just fine) and 5 gallons of cold water (18.9 liters).Pumpkin Recipes
Now that you know how to grow pumpkins, we prepared you a couple of recipe suggestions. We know the pumpkin pie is the most popular, but why not try something new as well?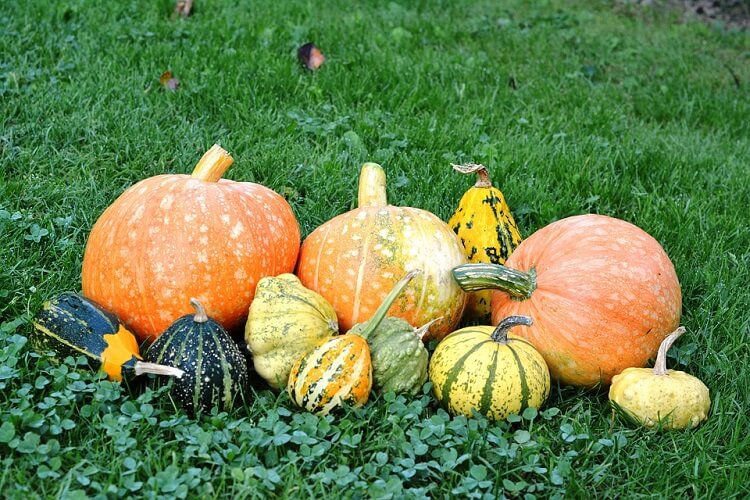
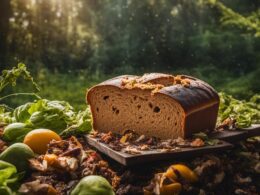
Pumpkin Bread
Ingredients:- 1 – ½ cups sugar;
- One teaspoon nutmeg;
- 1 teaspoon cinnamon;
- 4 eggs;
- 1 cup oil;
- 2/3 cup water;
- 1 cup pumpkin (canned or fresh);
- 3 cups flour;
- 1 teaspoon baking soda;
- 1 cup chopped nuts.

Pumpkin Cookies
Ingredients:- 1 softened butter stick;
- 2 beaten eggs;
- 1 – ½ cups flour;
- ¼ teaspoon ginger;
- 1 – ½ cups pumpkin;
- One tablespoon baking powder;
- 1 teaspoon cinnamon;
- ½ teaspoon salt;
- ½ teaspoon nutmeg;
- 1 cup chopped walnuts.