


If you want your home to stay dry and without any mold (and you probably do) then you must ensure you are getting a good drainage. Water collecting down in your basement isn’t only unaesthetic, but also dangerous, since it can make your wood mold and rot. Perhaps the most reliable way if you want to have a house with a good drainage is to install a French drain. It’s a simple process, especially if you prepare and plan it ahead and get the right materials and tools beforehand. Let’s see how to install a French drain!
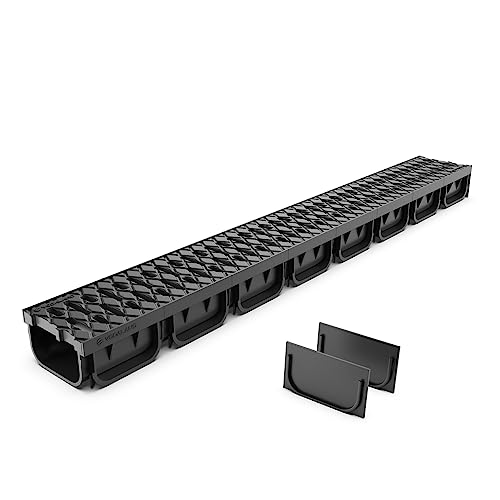
Parts we recommend;


How to Install a French Drain in Simple Steps
1. Check Out the Safety Underground
The first thing you need to do if you want to know how to install a French drain is to look at your underground situation. Make sure you know where all the cables, installations or pipes are. If you don’t, then you might end up damaging them if you start digging in the wrong spot. Then, you need to make sure that you do have a free area to build the drain. For example, if you live in the U.S., you have the number 811 to call before you dig. They will pass you to the local call center, so you’ll know for sure what to do.
Keep in mind that the drainage route should run minimum 1 meter away from any fence or wall. Try to get around posts, tree roots or other shrubs. Think about the water as well: what amount are you expecting, its source and whether the source might be contaminated or hazardous.

2. Check Runoff of Zoning Issues
Some cities control what you can dig or build on your own property. Before thinking of how to install a French drain, it would be advisable to talk to the city or country officials. It may be a little time- and nerve-consuming, but remember that it’s in your best interest to stay patient and be polite. It’s a good idea anyway to get along well with these agencies, so keep that in mind.
Another thing to keep into account is the neighbors. Check if the French drain you are installing isn’t causing problems to the neighbors when it comes to the groundwater runoff. If you run the excess water on your neighbor’s land, they might even file a lawsuit against you, so you should be careful with that. Ideally, you should install the French drain on a part of land that is not used. It should be found away from the buildings and set into sandy soil so that the water can go easily through it.
3. Find a Slope
For a proper functioning, the French drain has to be built on a downhill slope. This means that the water will drain away from the problem area with the help of gravity. If there is no natural slope around, you can even create one. As you dig the trench, you can do it deeper and deeper along the way. Ideally, you should have one inch for each 10 feet of run.
If you’re not sure about the pitch for the drain, then you can ask a professional or a surveyor to help you with that. It’s something you can do yourself, but it would be better to know for sure the right dimensions and placement. Use special paint for landscaping to mark the trench line you want. Then add a couple of stakes, some string, as well as a string level in order to set the incline of the trench.
4. Get the Right Materials and Tools
The list of tools and materials is not long, but it’s better if you take care of it in time. Here is the list of materials and tools you need when planning on how to install a French drain:
- Tools – besides the regular garden tools list, a digging hoe or a spade is necessary if you are going to do it manually. If you don’t want that, you can rent a backhoe operator or a trenching tool. Choose the right size for your drain and keep in mind that most walk-behind trenchers have a size adequate for a 4-6 inches wide trench.
- Drainage Gravel – the washed drainage gravel bags should be chosen according to the drain size you need. You can find online gravel calculators, which are an important part of the guide on how to install a French drain. They help you estimate how much gravel you need, depending on the depth and width of your future trench.
- Perforated Plastic Drain – Choose the right diameter, which depends on how big your drainage problem and the trench are. There are flexible or rigid drain pipes. The rigid ones are indeed more expensive, but you can unclog them easily and they’re also sturdier. Again, pay attention to the size.
- Water-permeable Fabric – the landscape fabric helps keep the drain pipe clean. At the same time, it avoids clogging it by keeping soil, roots or silt at bay. There are also ADS perforated pipes that come together with a fabric “sock” around them.
5. Dig the Trench
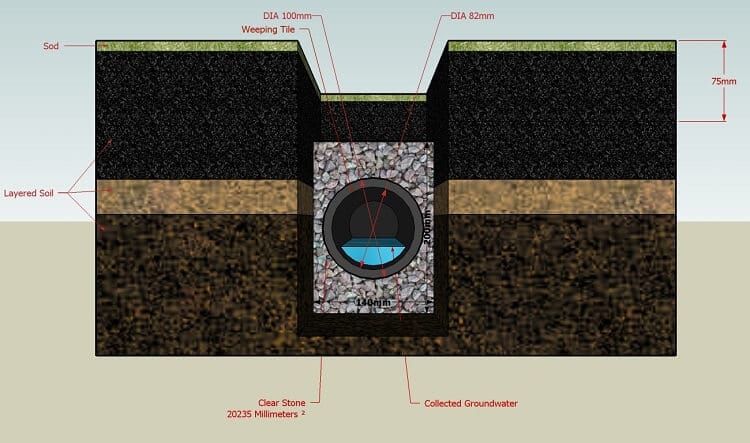
Perhaps the easiest step in all the guide on how to install a French drain is digging the actual trench. However, it requires quite some labor, so if you can get another person to help you, do it. You should set the size of the trench depending on how severe your drainage issue is, as well as the size of the digging tool. Usually, a French drain measures 6 inches in width and 18-24 inches in depth.
If you choose to go for a trenching tool, then you can dig wider trenches in a faster time. Despite this, you will have to pay more, since you have to rent it and even buy extra gravel for filling the larger trench. Moreover, such a tool can be dangerous if you don’t know how to use it. If you still want to use one, it’s better to ask for professional help or simply use a hoe. The same applies for a backhoe as well, since they can require more money, but can be pretty useful.
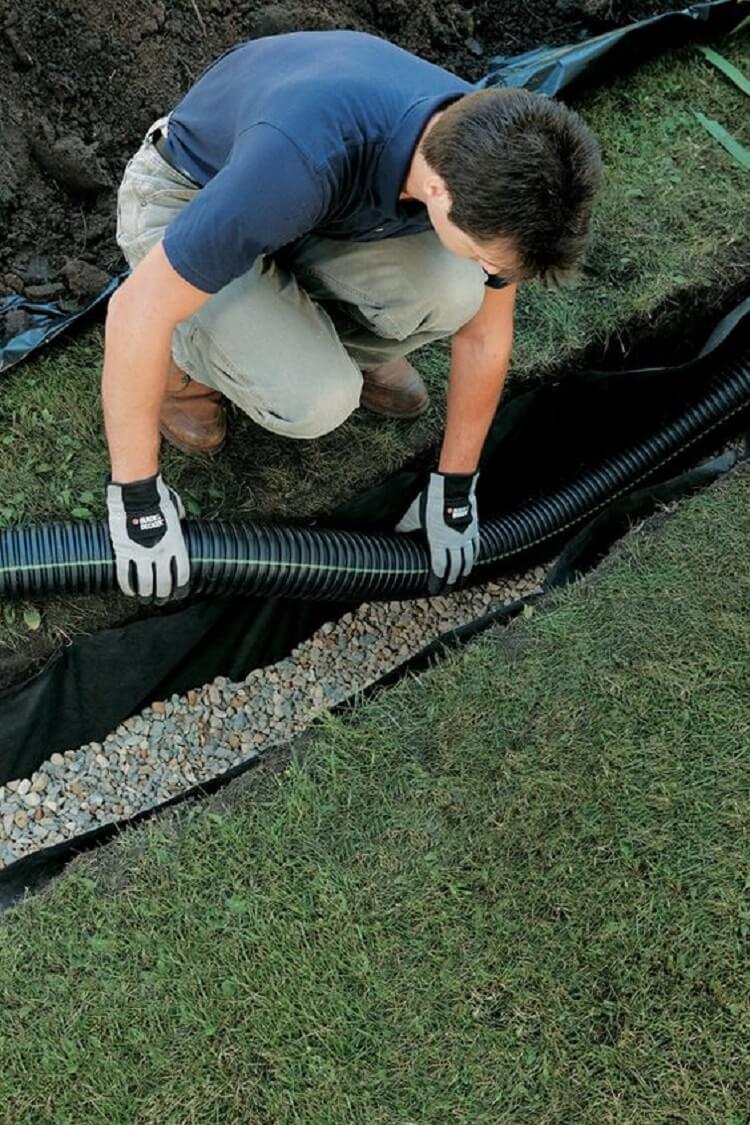
6. Place the Landscape Fabric
When the trench is ready, use the water-permeable landscape fabric to line it. On either side of it, you need to leave at least 10 inches (which is 25.4 cm) in excess. The fabric is going to be pulled down when you fill it with rocks, but you can always trim it later. Make sure there is enough fabric to be folded over the drain rock. As such, it won’t contaminate or plug the pipe.
7. Add the Gravel
The next step in our simple guide on how to install a French drain is to use a shovel to add 2-3 inches of gravel on the bottom. Place the gravel over the landscaping fabric, all along the bottom.
8. Place the Pipe
Put the perforated pipe into the trench over the gravel. Check that the drain holes should face down so that you will have the best drainage.
9. Cover the Pipe
Use the shovel and place some more gravel over the pipe. The ideal space between the top of the trench and the gravel should be 3-5 inches (7.6 to 12.7 cm). Unpin the excess fabric you left on the sides of the trench. Then fold it over the gravel. Thus you will make sure no debris will enter the drain, but the water will still go through.
10. Fill the Trench
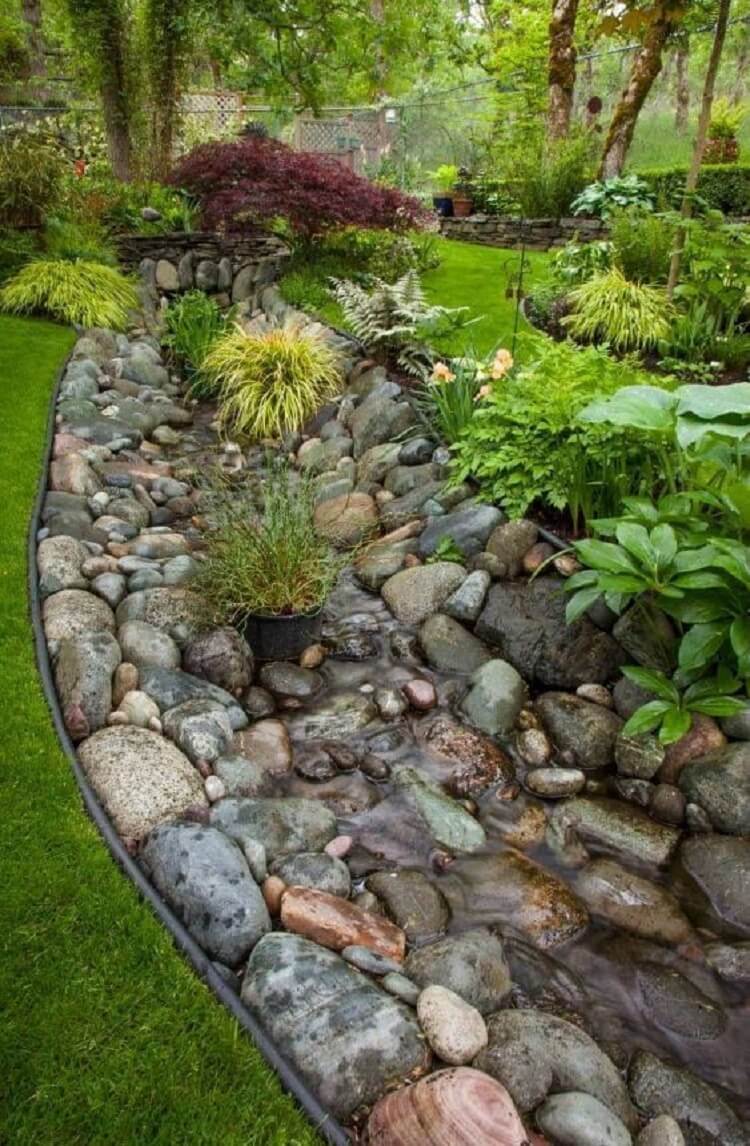
Put the displaced soil back into the rest of the trench. You can choose how you want the finish to be. One option when you consider how to install a French drain and how to finish it is to place sod on top. Reseed it with grass or cover it up with some big decorative stones. Some people choose to include a curve in their drain pipe, so it will have a more sophisticated look when you’re done. Sometimes, the final touch matches perfectly the drip irrigation systems included in the yard.
If you’re more of a visual learner, we also found you a small video to explain it all step by step:
Conclusion
Now that you have 10 easy steps to follow, installing a French drain by yourself shouldn’t be that hard. Preparing and planning make everything seem easier, so make sure you gather everything you need beforehand. Remember the most important things: don’t install the pipe too close to a building and make sure that you are authorized to do it at all.
When in doubt, always ask the help of a specialist. Since this project is quite important for the safety of your home and garden, it’s better to get the best help you can. There are lots of specialists you can find online and there is even a phone number you can call for information. Check the municipality permits or authorizations you need and think of creative ideas to build on top of the drain.
All in all, remember that it’s not for nothing that most people choose to use a French drain when they have a drainage issue. It’s perhaps the most effective around, and it’s also easy to install and use, as you have seen. You will still need to change it in some years, but even so, it remains the most popular solution for such situations.
Image Source: 1
Last update on 2024-04-18 at 20:49 / Affiliate links / Images from Amazon Product Advertising API


Beautiful job, awesome instructions, very easy to follow. Will def. Attempt it.
I’ll take a look at my underground situation this weekend as you suggested. My brother has a French drain on his property and he says it works great. Hopefully, the ground around my house will work well enough to get one.